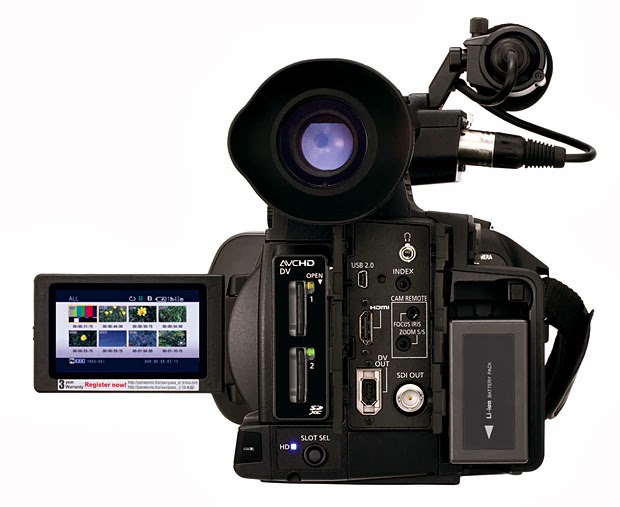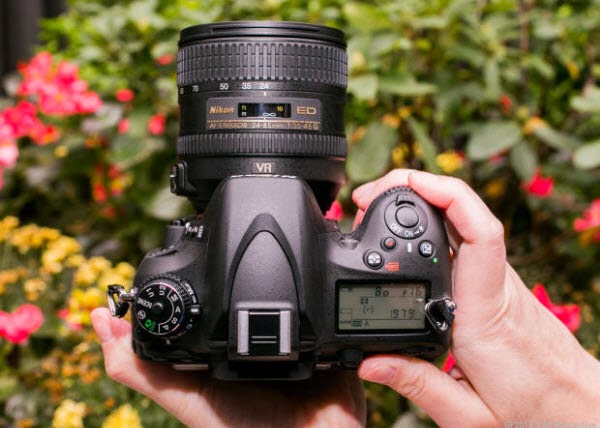
The AG-HPX371 is a powerful answer to today's advanced video production demands. However, the thing is, FCP does not work perfectly with the Panasonic P2 MXF codec. It need to wait for a long rending time for importing Panasonic AG-HPX371 P2 MXF in FCP 6/7 on Mac Mavericks. As far as I know, to solve the P2 MXF importing problems, the most important piece of the equation is that transcoding Panasonic P2 Card MXF files to a FCP's supported video format, like Apple ProRes (422).
If you looking for a solution for this problem likewise, come and meet this multi-audio track MXF Converter for Mac. With Pavtube iMixMXF you are allowed to quickly and easily convert/transcode AG-HPX371 P2 MXF to FCP supported Prores .mov format for FCP 6/7 editing, as well as preserving all or any audio tracks and mix the multiple audio tracks into one if you need. So follow the quick tutorial below to transcode Panasonic AG-HPX371 P2 MXF with multi-track to FCP 6/7 compatible format on Mavericks and burn to DVD on Mac.
Part 1: Transcode Panasonic AG-HPX371 P2 MXF to Multi-audio track ProRes 422 for FCP 6/7 with all audio tracks preserved on Mac Mavericks
1. Connect your AG-HPX371 P2 camera to Mac and keep it on. (Please make sure you have the entire MXF file structure as it saved on your camcorder’s P2 card)

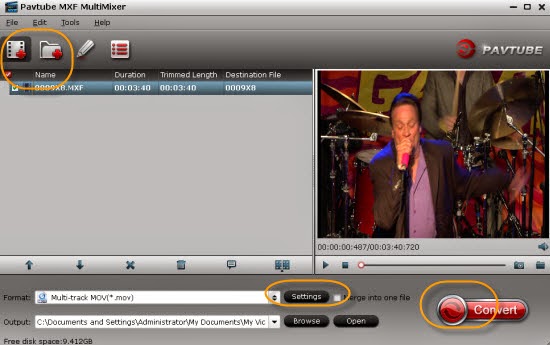
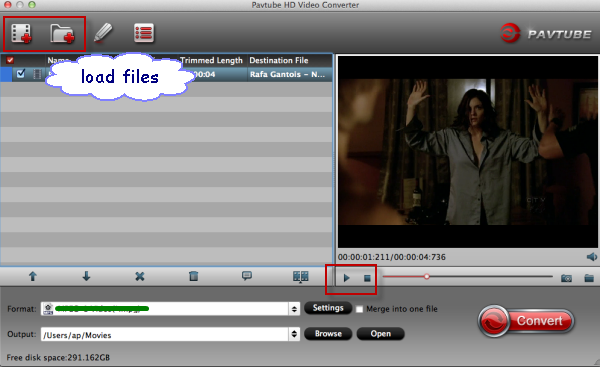
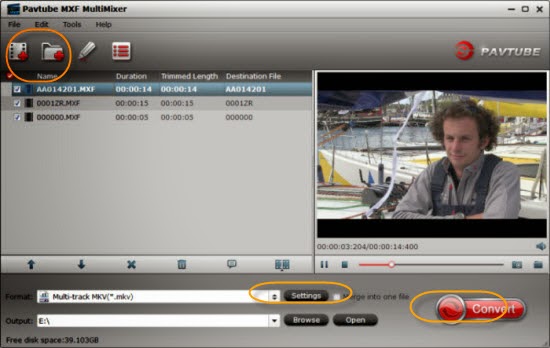
Get Pavtube iMixMXF installed. Now follow the top left two icons to load individual mxf or in batch.

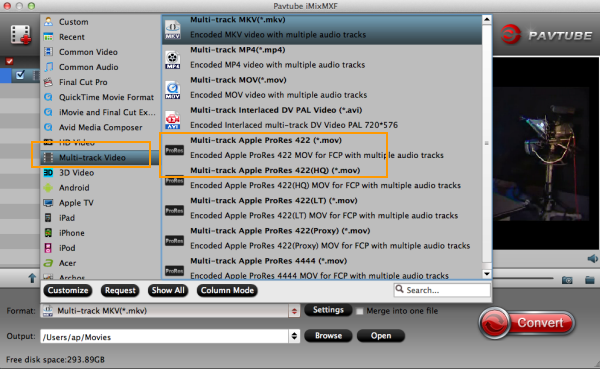
2. Click "Format" and choose Multi-track Video>Multi-track Apple ProRes 422(*.mov) as the most compatible codec for FCP 6/7 editing.

3. Click "Settings" to free select needed video/audio tracks.
Check the tracks you need and left others unchecked, thus you can get Multi-track MOV with your needed audio streams. Note there’s a mix into one track icon on the bottom, it will combine all your checked audio tracks into single one.

4. Click the red "Convert" and just let it go!
When completes, locate the converted MOV files from target file path by clicking "Open" icon.
Now, open up Final Cut Pro, choose File > Import > Files…to select and load the generated ProRes 422 MOV files to FCP 6/7 for editing use.
How to import P2 footage to Final Cut Pro directly from a P2 card
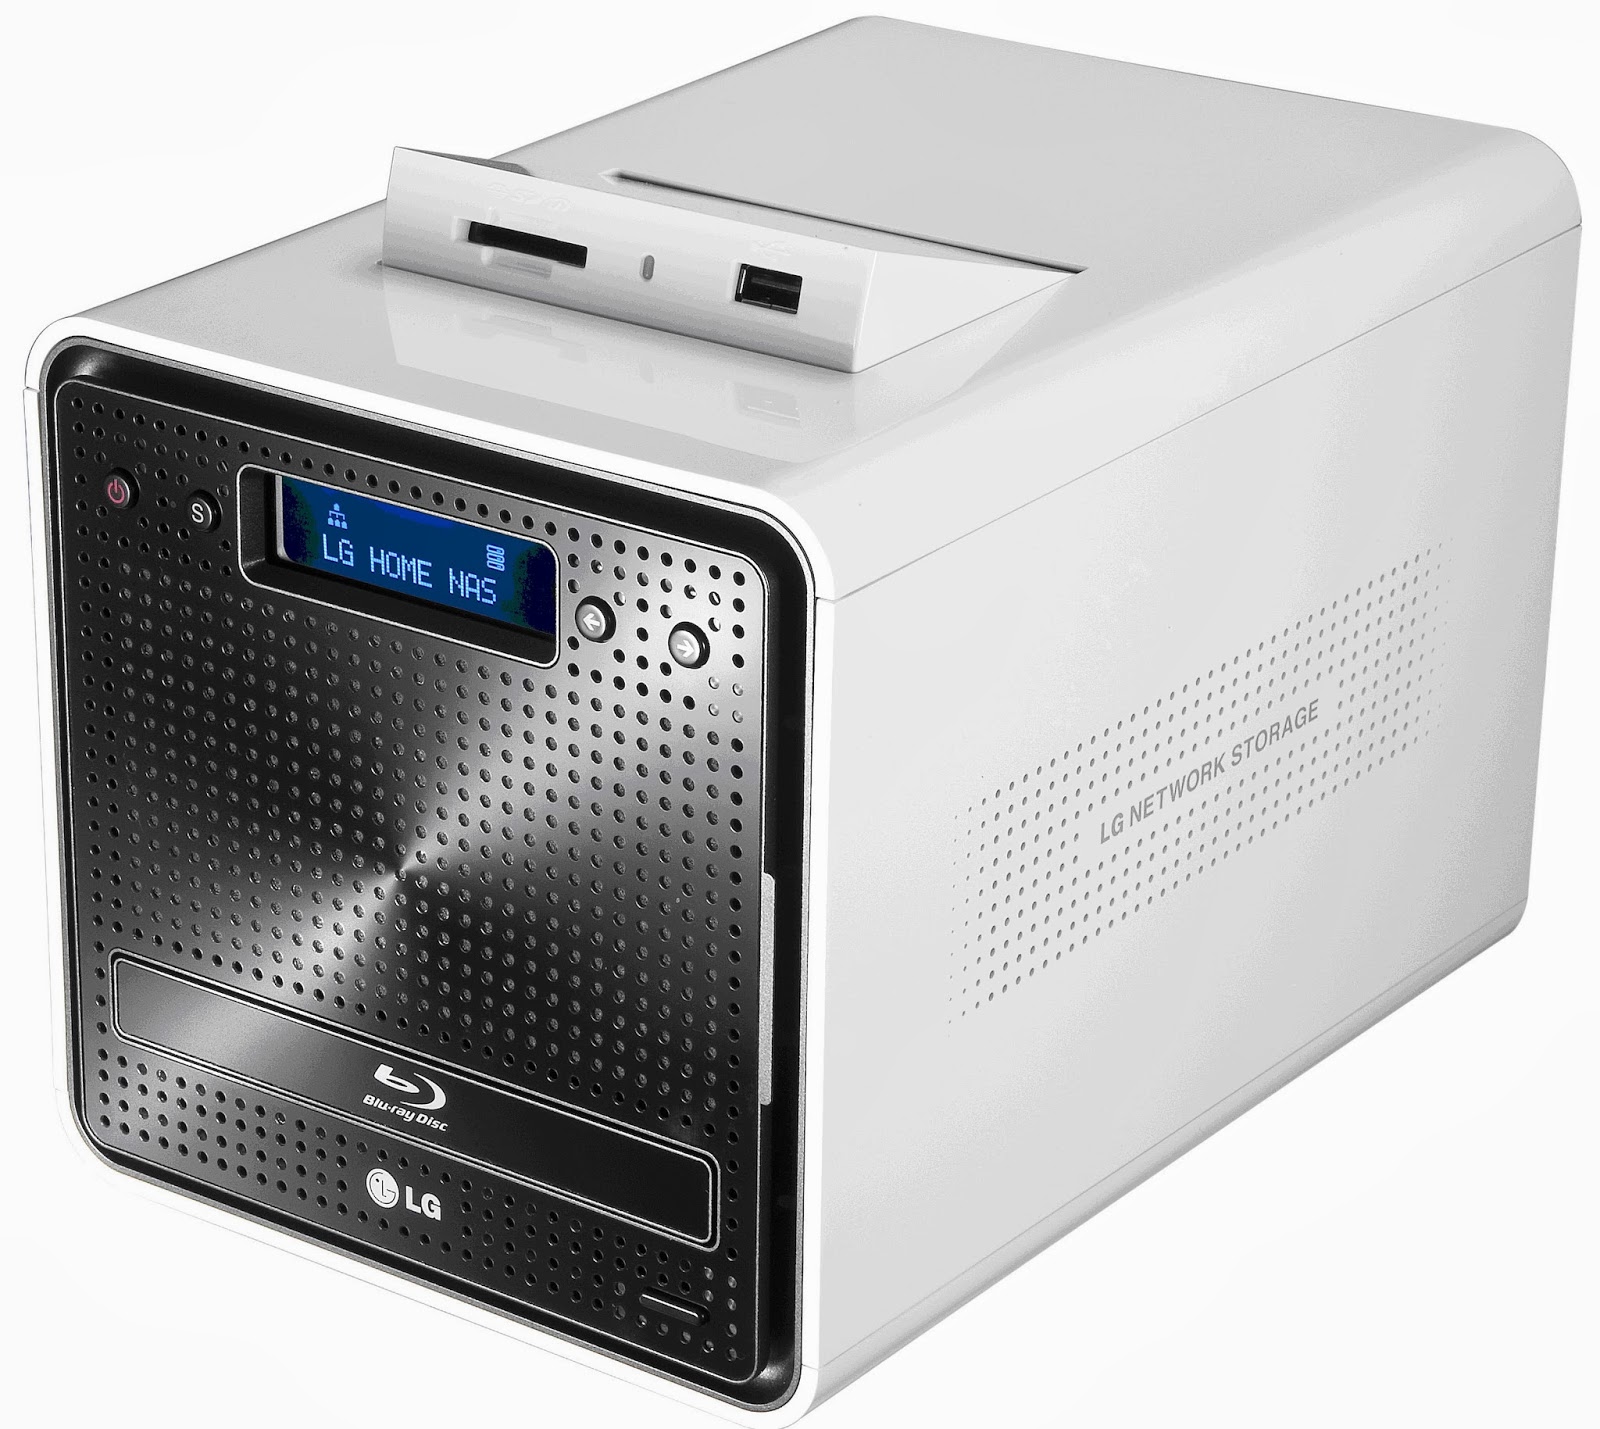
Part 2: Burn FCP projects to DVD on Mac
Pavtube DVD Creator for Mac adds support for MXF files burning, it can burn single file or folder structure videos, you can burn MXF/FCP projects to DVD disc in few steps, just follow it:
1. Install DVD Creator for Mac, connect your DVD Writer and insert a blank DVD. Add your videos into the DVD Creator for Mac
2. Edit movie clip and Customize your DVD menu. You can edit your videos with trim, crop, watermark, effect settings, audio replacing settings features.

3. Preview Created DVD-Video and click burn button to start burning.

P.S.
1. Pavtube also have a Mac MXF to FCP converter program for users that do not need to deal with multi-track video/audio files; only $29 is needed atm. Refer to here to quick look this MXF Converter for Mac.
2. Good news for Blu-ray/DVD fans! Pavtube studio now provides ByteCopy for Mac plus iMixMXF bundle, saving $17 immediately! (ByteCopy for Mac is a multi-track featured blu-ray ripping program. With it, you can easily backup blu-ray to lossless multi-track MKV without any quality loss, transcode to multi-track MP4/MOV/ProRes and other mainstream video formats.)
Read More:
- MXF & FCP X Workflow: Help Importing MXF into FCP X
- Video Solution: Edit XDCAM MXF in Adobe Premiere Pro CC
- Import Panasonic HVX2000A MXF Files to Avid MC for Editing
- Import Canon C300 Mark II 4K MXF to iMovie on Mac
- Convert Panasonic AJ-HPX2700 P2 MXF to Avid/Premiere/Sony Vegas Pro
- How to Convert Camcorders MXF to any formats on Mac (macOS 10.12 Sierra included)