The Canon T6 shares a whole lot with its well-received predecessor. Its smooth, polycarbonate body is nearly identical to that of the Rebel T5, and remains both friendly and approachable. On the inside, the Canon T6 also sports pretty much exactly the same imaging pipeline as its nearest predecessor. With a resolution of 18 megapixels from a roomy APS-C sized image sensor, the T6 might lag more expensive cameras in terms of resolution, but it arguably provides more than enough for the entry-level shooters at whom this model is aimed. So a powerful camera. Have got one? Have recorded some videos by it? Want to edit the videos in Sony Vegas Pro/ Movie Studio for sharing? Have some troubles in the process? Read on.
The recorded videos by Canon EOS Rebel T6 are MOV (image data: MPEG4 ACV/H.264; audio: Linear PCM (monaural)). Some of them are not supported by Sony Vegas Pro or Movie Studio. Let’s look at their supported formats:
Sony Vegas Pro 13/12/11 Supported file formats Opens:
MOV, WMV, H.264, AA3, AAF, AIF, ASF, AU, AVC, AVI, BMP, BWF, CDA, DIG, DLX, DPX, DV, EXR, FLAC, GIF, HDP, IVC, JPEG, AVCHD, M2T, M2TS, MVC, Sony MXF (XDCAM and HDCAM SR), MP3, MP4, M4A, MPEG-1 and MPEG-2 video, OGG, MPO, OMA, Panasonic MXF (DVCPRO, AVC-Intra) PCA, PSD, QT, R3D, PNG, SFA, SND, TIFF, TGA, W64, WAV, VOX, WDP, WMA, XAVC Intra MXF, XAVC S
Saves:
H.264, AA3, FLAC, AC3, AIF, ATRAC, AVC, AVCHD, AVI, DPX, EXR, HDP, MOV, MP4, WMV, MP3, MPEG-1 and MPEG-2 video, M2T, Sony MXF (XDCAM and HDCAM SR), MVC, OGG, Panasonic MXF (AVC-Intra), PCA, W64, WAV, WMA, XAVC S, XAVC Intra MXF
Movie Studio supported formats: Audio formats: AAC, AA3, AIFF, FLAC, WMA, MP3, OGG, MPEG-1,
Video formats: AVI, WMV, MPEG-2, MPEG-4, MVC, QuickTime, XAVC S
So In order to import your any Canon EOS Rebel T6 videos into Sony Vegas Pro/ Movie Studio, we here directly shows you
Pavtube Video Converter (Windows 10 supported) to solve your problem as quickly and easily as possible. The program is very easy to use and has all the important features that you may need. It can help in customizing the videos through using the basic tools for editing available while its speeds are very high with no quality loss at all. Key features:
Various conversion:
4K XAVC to Sony Vegas Pro,
MP4 to Sony Vegas Pro,
AVI to Sony Vegas 13/12/11,
MXF in Sony Movie Studio and more.
Conversion speed; this tool enables you to convert video files six times faster than other converter tools. It also retains 100% quality of video, audio and images.
Supported formats; Pavtube Video Converter supports formats such as H.265, MKV, AVI, MOV, MP4, FLV, WMV, DivX, AVCHD, VOB, 3GP among others.
The tool can cut the video into multiple pieces, add sub-titles, effects as well as adjusting the video aspect ratio.
Customize the output resolutions to any size like 1080p, 2K as users want from 4K
It can also enable you to convert from 2D to 3D formats.
With this powerful Video Converter, this article tells us how to make Canon recordings to Sony Vegas/Movie Studio conversion step by step.
Free download the best video converter for Sony Vegas Pro/Movie Studio:

 Other Download:
- Pavtube old official address:
http://www.pavtube.com/video_converter/- Amazon Download:
http://download.cnet.com/Pavtube-Video-Converter/3000-2194_4-75734821.html- Cnet Download:
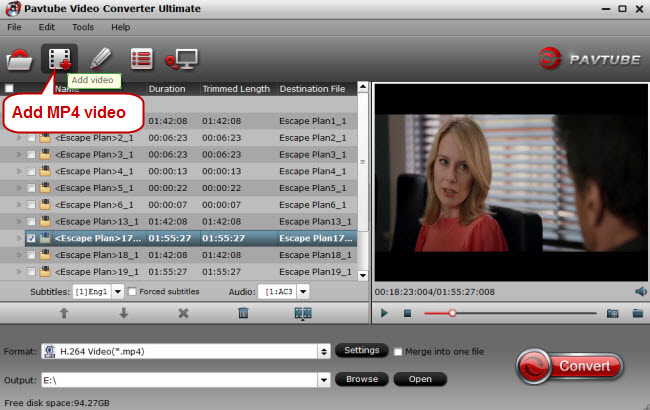
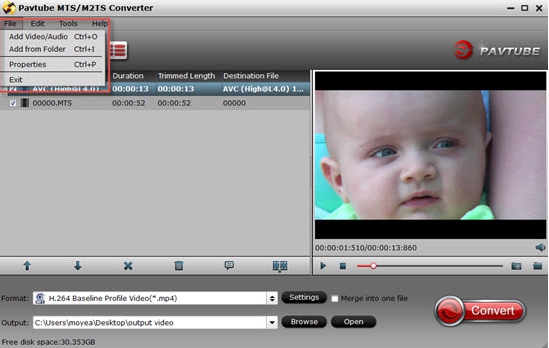
http://download.cnet.com/Pavtube-Video-Converter/3000-2194_4-75734821.htmlHow to convert Canon EOS Rebel T6 videos to WMV/MPEG-2 for Sony Vegas Pro/Movie Studio?1. Add Canon EOS Rebel T6 video Files
Click "Add video" to add AVI files from the PC local to the program, or drage and drop the AVI videos to the converter. If you want to join the imported clips into one for easy editing, please tick the box "Merge into one file" on the main interface.
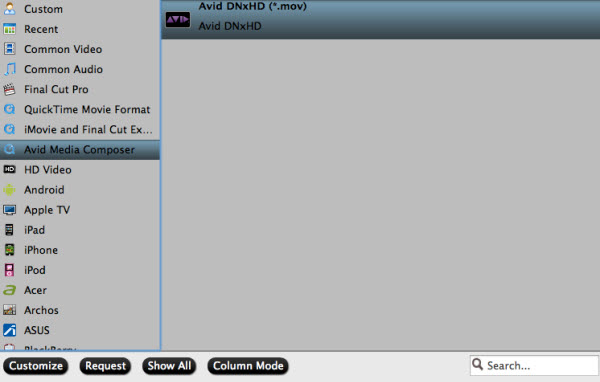
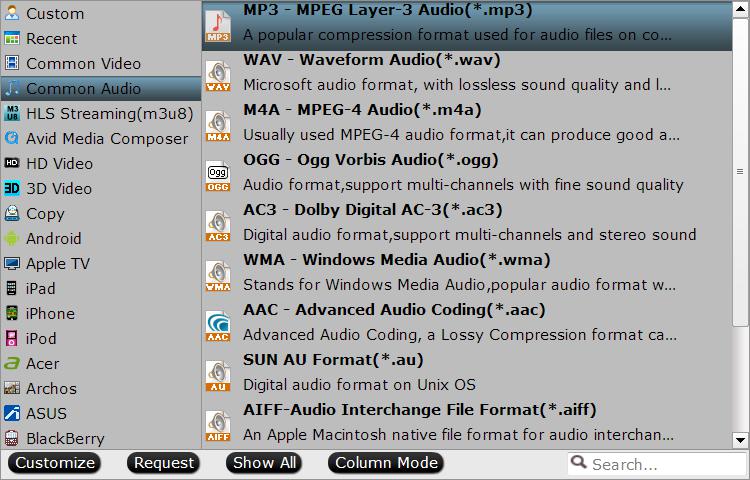
2. Choose the Output Format
After the aforementioned stuff, all you need to do now is to convert AVI to Sony Vegas. As for Sony Vegas, "WMV (VC-1) (*.wmv)" and "MPEG-2 (*.mpg)" from "Adobe Premiere/Sony Vegas" are better formats for editing. You can click to choose the profile which includes variuos formats, editors, TVs and mobile devices.

3. Convert Canon EOS Rebel T6 video to Sony Vegas Pro/Movie Studio
Now, please click "Convert" to start converting Canon to Sony Vegas or Movie Studio. After conversion, your canon files have been changed into .wmv or .mpg files, which can be easily imported into Sony Vegas or Movie Studio and freely edited.
10 tips for lightning-fast editing with Vegas Pro: One of my main applications for Vegas Pro software is editing video reports from trade shows, where the priority is speed—turnaround is crucial. In the process, I've learned some useful efficiency tips. (Source from here)
- Prepare in advance. Create intros, outros, theme music, and templates before you go. A well-produced intro sets the tone for a video; don't spend hours doing that on site.
- Use Sony Cinescore software for "instant soundtracks." Nothing helps make a video more professional than a good soundtrack, and Cinescore software delivers. However, rather than using Cinescore "hints" to control how the soundtrack unfolds, I prefer to generate 15-20 minutes of music for a 5-10 minute video, then rearrange (cut and paste) different sections within Vegas Pro software.
- After transferring clips and stills to your hard drive, label them. "Clip1.avi" doesn't mean much, so take a few minutes to give all your data descriptive names. You'll save time overall.
- Don't bring an audio interface—USB mics are great. I often record narration first, then lay in video to match the audio. Not all USB mics work well for narration; I favor Audio-Technica's AT2020.
- Bounce while eating, render when showering. Do something else while your computer is tied up. For example, at hotels I start bouncing a one-hour tape over to the hard drive, then go to dinner—which typically takes just under an hour. Rendering while showering also saves time.
- Create a test video using all the gear you'll take on the road. This verifies that everything works, and when it's time to pack up, you won't forget anything—simply bring the gear you used to make the video.
- Install both 64- and 32-bit versions of Vegas with 64-bit computers. 64-bit computing is in its infancy; install Vegas 32-bit also in case you have problems.
- Take still shots to cover rough edit points. Rather than trying to fix tough edits—like where someone walked in front of the camera—take lots of still shots. Drop them in, then add some zoom and pan to give action.
- Use Sony Sound Forge software to clean up audio tracks. Sound Forge software can solve audio problems fast, thanks to tools like noise reduction. Also, if there are level variations with narration, you don't have to draw gain envelopes in Vegas Pro software—use the Sound Forge Wave Hammer processor to even out the dynamic range.
- Exploit the Vegas Pro "Paste Event Attributes" command. Often, several pieces of video or stills will need the same processing—for example, video clips that were shot in a room with low light, where all the clips require brightness and contrast adjustments. Get one clip right (before you do any pan, zoom, or other actions specific to that clip), copy it, then right-click on each of the other clips and select "Paste Event Attributes." This transfers all your settings to the clip.
Read More:
- Import Canon EOS Rebel T6/1300D MPEG-4/H.264 to Davinci Resolve 12
- Import Sony A6300 4K XAVC S to Davinci Resolve 12 on Mac El Capitan
- Work DJI Phantom 4 4K in Avid Media Composer
- Load Canon EOS Rebel T6 MPEG-4/H.264 videos to Avid Media Composer smoothly
- How to Import Canon XC10 XF-AVC MXF videos to Avid MC?