Overview:
Professional quality in your pocket
So compact and easy to use, the Cyber-shot™ WX30 digital camera offers extraordinary imaging possibilities. Step up to high-performance imaging with detail-packed stills, 3D and smooth Full HD video. Picture Effect lets you achieve impressive creative results with ease.

Features:
- Better looking pictures made easy
Not sure how to pick the perfect camera settings to suit a particular scene? Don’t worry, help is at hand. Superior Auto Mode adjusts exposure and other camera settings for optimum results in a wide range of shooting situations. - Magical moviesLeft your camcorder behind? One touch is all that’s needed to shoot brilliantly crisp, detailed HD 1080i video clips. Picture quality is wonderfully clear and smooth, while efficient AVCHD video compression keeps files smaller for storing and sharing.
- Add a new dimension with 3DDiscover an incredible world of 3D imaging. Shoot 3D stills at the touch of a button. Capture wide 3D images to enjoy on your 3D TV with Sweep Panorama. Sweep Multi Angle creates amazing 3D-like views you can explore by tilting the camera screen.
- Sensational images, even in low light
Many cameras struggle to produce crisp, clear images in low light. The revolutionary Exmor R™ CMOS sensor boosts sensitivity while reducing image noise for brilliant, detail-packed pictures.
Sony WX30 offers 1080i recordings in AVCHD and MP4 format, so if you wanna import WX30 AVCHD file to PC in video editing programs like Avid, Premiere, Sony Vegas, Pinnacle or Windows Movie Maker for editing, you may find most video editing programs does not recognize the WX30 AVCHD video footage, and that's why we need to convert Sony MTS to editable formats before editing.
Soteware Requirement:
Pavtube HD Video Converter for Mac - a powerful Sony AVCHD MTS Converter can help you easily transcode Sony WX30 1080i AVCHD to best codec for Windows platform. (Downlaod the Windows version here:
 )
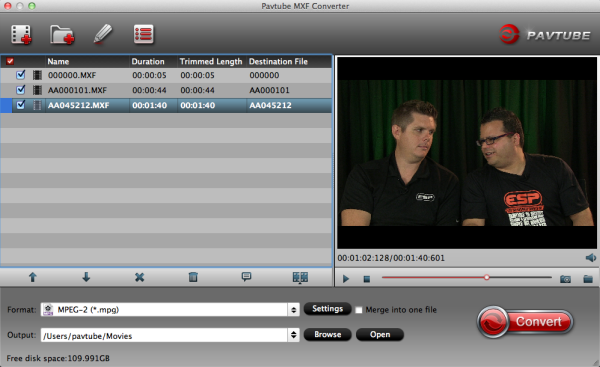
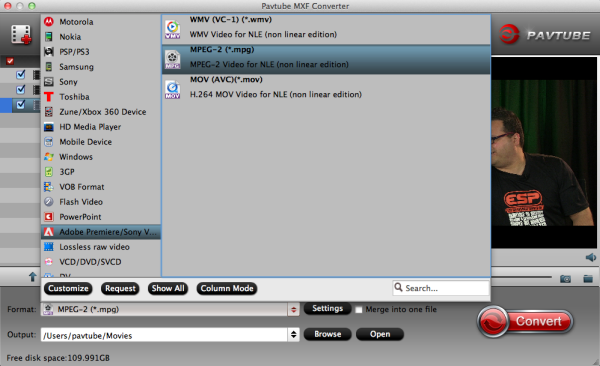
)This is the main interface of the AVCHD to AVI/WMV/MOV Converter:
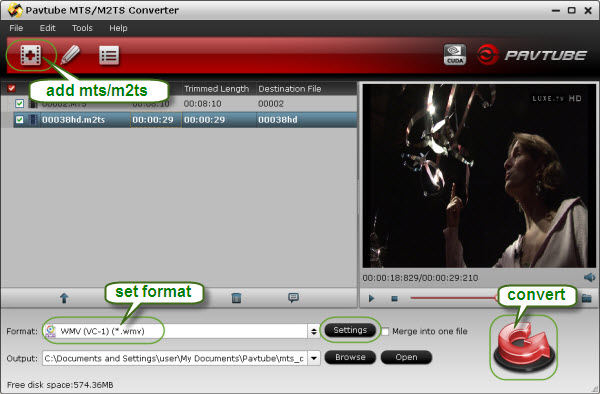
You can choose rich output formats for editing on Windows.
For example, it the Format box, you can select WMV (for Adobe Premiere, Sony Vegas, Windows Movie Maker), MOV (for Avid Media Composer), AVI (for Pinnacle Studio), etc.
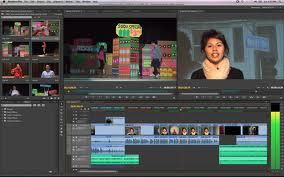
After encoding Sony WX30 1080i MTS to Windows PC compatible format, Sony WX30 1080i AVCHD footage can be imported to Avid, Premiere, Sony Vegas, Pinnacle or Windows Movie Maker instantly and also the 1080i is deinterlaced.
Another program Pavtube Video Converter can do the same job, it can also deal with you blu-ray, DVD and HD Videos. just have a try!
Read More:
- How to Solve the freezes when importing MTS media to Premiere CC-2015.3?
- How to Convert MTS/M2TS with Handbrake Easily?
- Best Solution to Play Sony MTS/M2TS Files on MacBook Pro
- Play MTS on Smart TV (Windows and Mac Solutions)
- Top 5 MTS/M2TS Video Editors for Mac
- Top 5 MTS/M2TS Video Editors for Windows (10, 8.1, 8, 7, XP, etc)
- Fix Choppy Issues When Importing AVCHD Files to FCP
- Join and Convert MTS/M2TS Files for playing with VLC Player
- How to Convert 3D AVCHD MTS to 3D Tablet for Watching?


