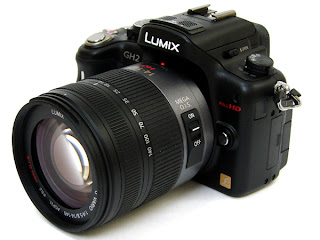
Panasonic Lumix DMC-GH2
Panasonic Lumix DMC-GH2 updates the highly acclaimed if rather pricey GH1 Micro Four Thirds system camera. As such the GH2's styling is closer to that of a baby DSLR than its sibling's, the GF2 compact camera form. While stylistically similar, its size is roughly a third of the size of Olympus' Four Thirds E-5 DSLR, and closer in fact to that of a bridge camera. Except unlike a bridge camera, the Panasonic's added appeal is the ability to swap the lens in use. Therefore it's fair to say that for those who like the feel of a DSLR but not the attendant bulk, the GH2 is potentially a very attractive proposition. It's in effect a DSLR 'lite'.
Easiest way to convert GH2 1080p .mts to 720p?
I'm a Director, DP-Editor/Gaffer. I do commercials and corporate work. I got my Panasonic GH2 and I shot all the .mts footage myself about Teaching Practices in Public Schools in Maryland. I like One-touch HD video recording and manual controls. And now I need to down-convert GH2 MTS footage from 1080p to 720p for storage and editing in FCP&Premiere. Is there any easy way (free or nominal fee)?
Why we need to downsize the HD video?
By google search, you can see many folks are asking about how to downsize 1080p to 720p. It is my impression that if I edit with actual 720p files, it will be less strain on the system both in editing and rendering as well has hard drive space. In fact, it really does. After reducing the big video size, we will edit more smoothly, save space and make 1080p video playable on protable device like iPad.
An easy to use 1080p to 720p Converter
As in the above case, you have the need to find a professional MTS Converter for FCP/Premiere to downsize 1080p HD video to 720p. Pavtube MTS Converter for Mac is exactly the one ease of use. I have used it on my project, it is helpful in down-converting Panasonic GH2 1080p full HD video to 720p video quickly and transoding GH2 MTS file to FCP/Premiere editable Prores codec, then I can wok well with GH2 mts file in FCP and Premiere. Overall first impression is excellent. Below I will share the step-to-step guide to you.
Simple way to downconvert GH2 1080p to 720p for editing in FCP/Premiere
Step 1. Download Pavtube MTS Converter for Mac. This professional Panasonic MTS Converter can help you convert 1080p AVCHD MTS files to rich formats for use on Mac(Mavericks 10.9 included).
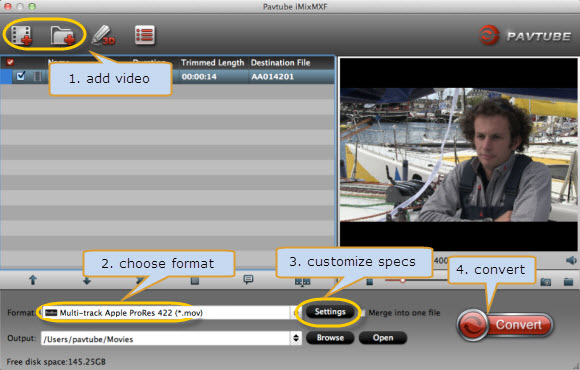
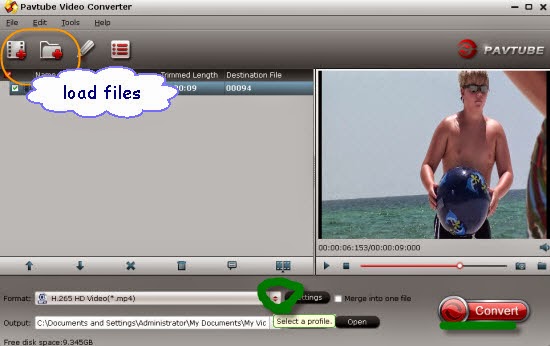
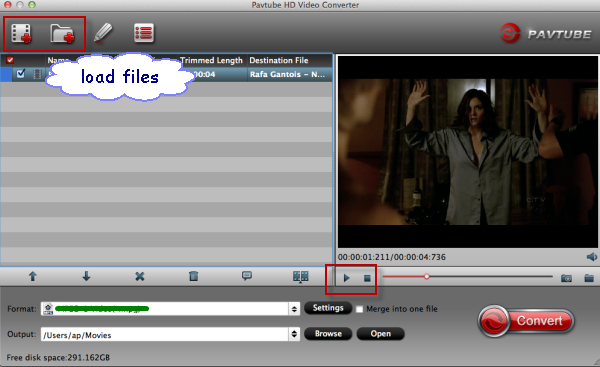
Step 2. Install and launch this 1080p to 720p MTS Converter. Import 1080p MTS footage from GH2 to it.
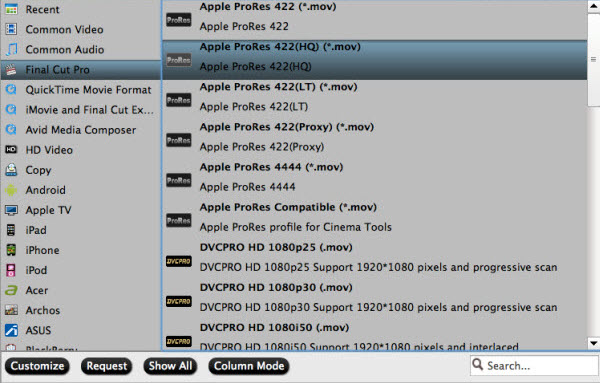
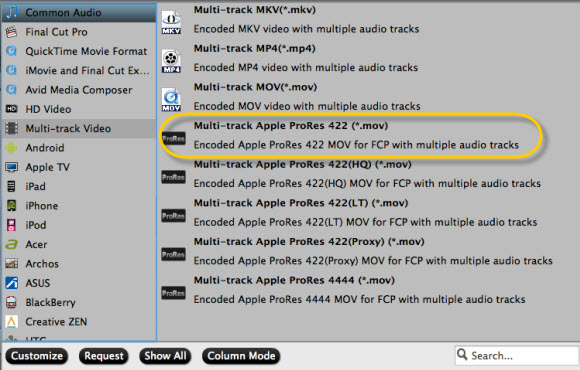
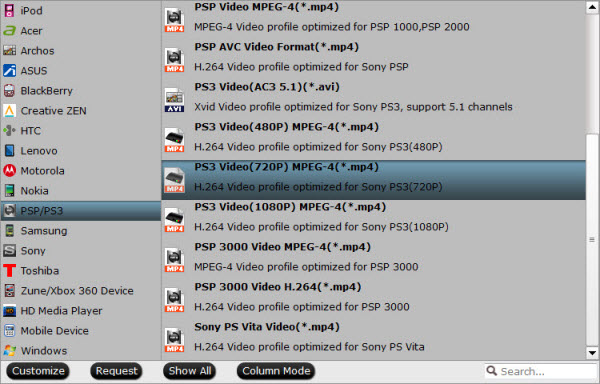
Step 3. Click "Format" bar to choose format for output, you can choose Final Cut Pro > Apple ProRes 422 HQ (*.mov) for editing in FCP and Premiere Pro.
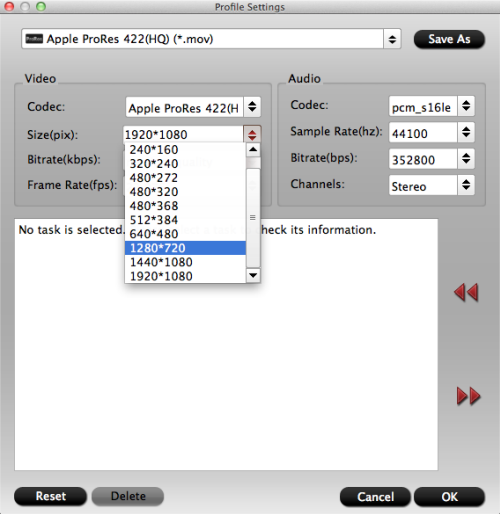
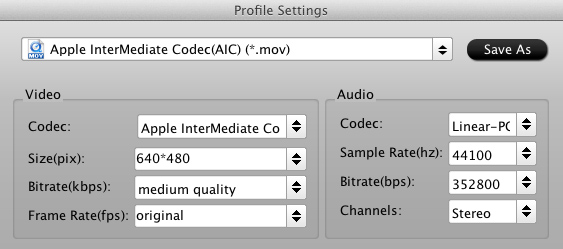
Step 4. You can click “settings” to customize the output parameters, adjust the resolution, bitrate as you want. To down-convert 1080p to 720p, you just need set Size(pix) to 1280*720. That is the exact 720P.
Step 5. Click convert button to start converting Panasonic GH2 1080p AVCHD MTS to Prores for FCP and Premiere editing with 1280*720 definition.
As long as the conversion is done, you will get the 720p mov video files in full screen from its destination folder, and then you can import the files with 720p resolution to FCP/Premiere editing smoothly on Mac (including Mavericks 10.9).
Read More:
- How to Solve the freezes when importing MTS media to Premiere CC-2015.3?
- How to Convert MTS/M2TS with Handbrake Easily?
- Best Solution to Play Sony MTS/M2TS Files on MacBook Pro
- Play MTS on Smart TV (Windows and Mac Solutions)
- Top 5 MTS/M2TS Video Editors for Mac
- Top 5 MTS/M2TS Video Editors for Windows (10, 8.1, 8, 7, XP, etc)
- Fix Choppy Issues When Importing AVCHD Files to FCP
- Join and Convert MTS/M2TS Files for playing with VLC Player
- How to Convert 3D AVCHD MTS to 3D Tablet for Watching?


