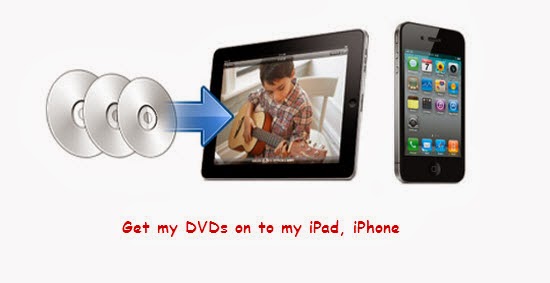
I have bought some DVD's which I would like to transfer them to the iPad & iPhone so I can watch my favorites on my iPad & iPhone while travelling. Now I'm looking for ways to get the DVD movies onto iTunes, and then sync to my iPad & iPhone.
It is really great to enjoy favorite DVD movies on iPad & iPhone. However, it is reported that DVD image files can't be played on iPad or iPhone directly due to the disc protection and format problems. So I search this question by googling, then I was suggested to get this best DVD to iPhone/iPad Converter to remove thing protection, then things become more easy.
After many trials, we select this DVD Ripper from Pavtube and it work great with removing DVD protection quickly (a few minutes during the importing) and smoothly converting them to MP4 which is preferred by IOS devices without any quality and sync issues. Very easy to use. So I purchased the software. LOL~ Here I will share the easy workflow to rip DVD movie to iPad & iPhone with high video quality.
Download a free trial version here:

 (For Mac OS X 10.5 Leopard users: download the .dmg
file)
(For Mac OS X 10.5 Leopard users: download the .dmg
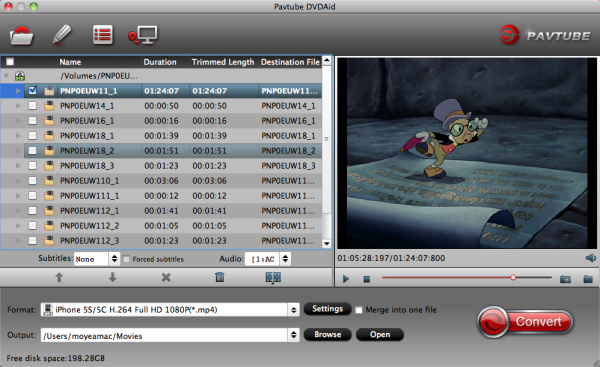
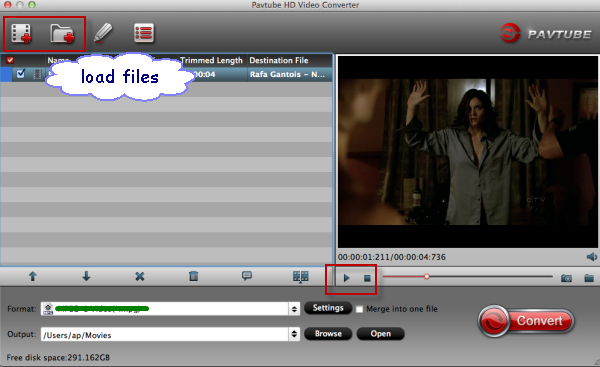
file) Step 1. Get this DVD Ripper for iPad & iPhone installed and import DVD.
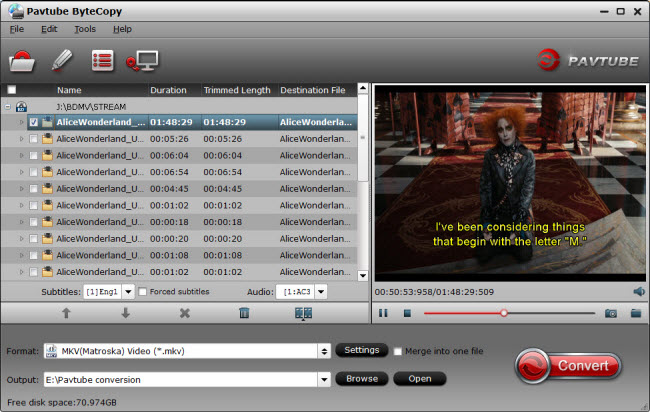
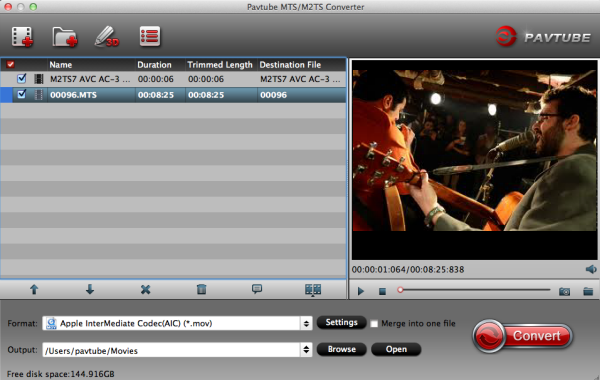
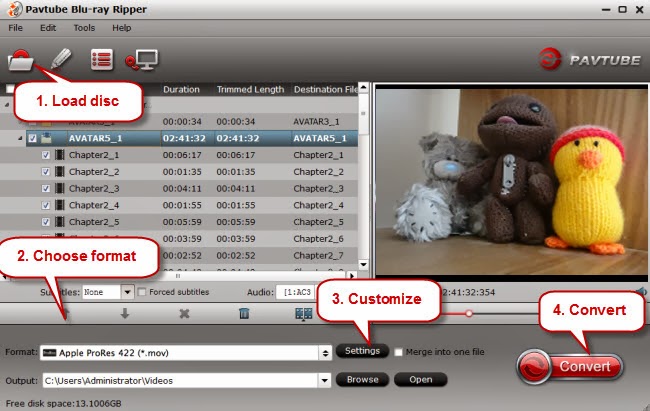
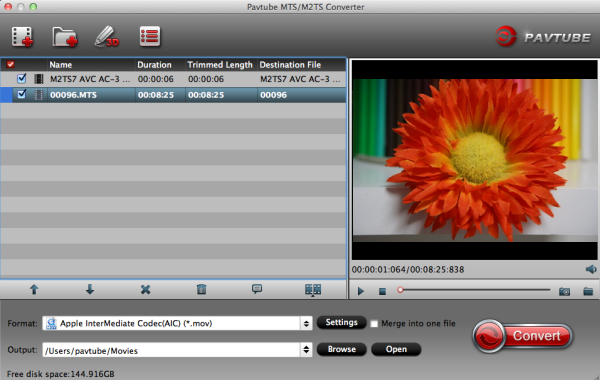
Click "Import DVD" to load disc from ROM, IFO/ISO or DVD folder. Pavtube DVD Ripper will detect and check the main title automatically; keep it as default unless you also want to convert the tidbits.
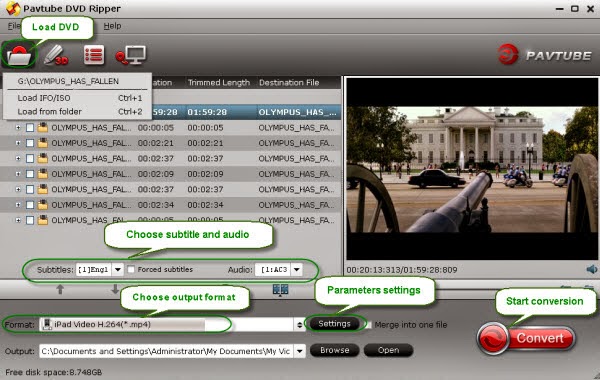
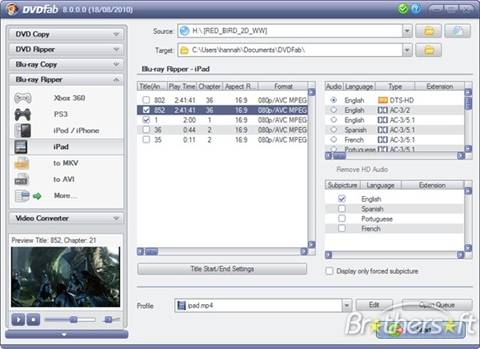
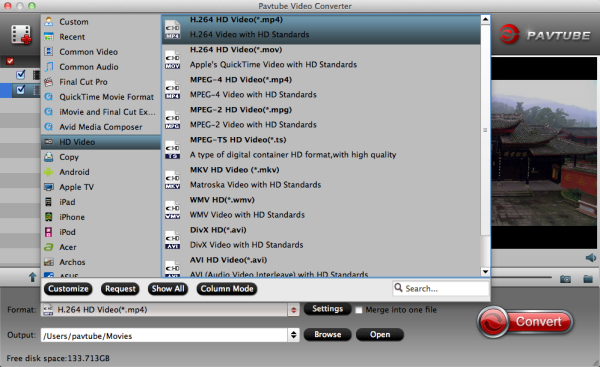
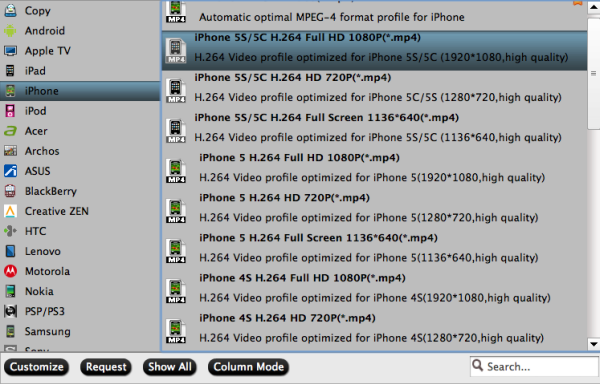
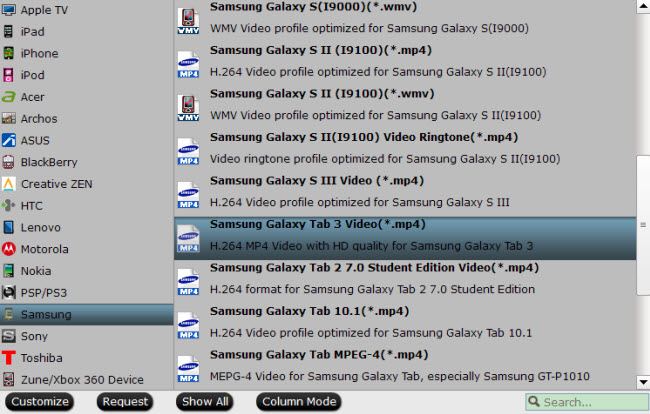
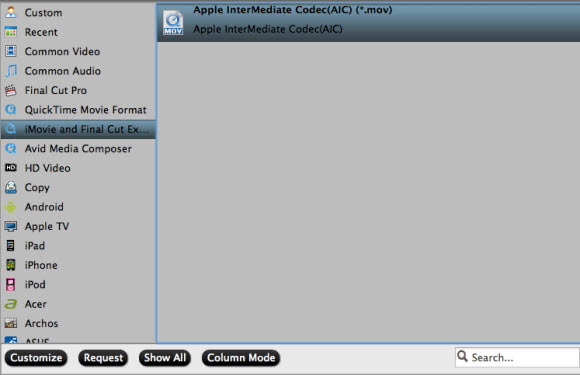
Step 2. Choose iPad & iPhone video format.
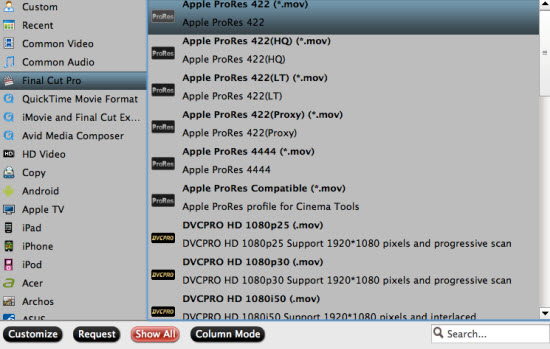
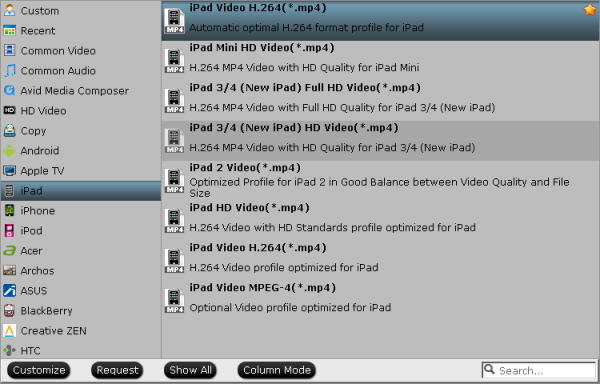
This app contains an optimzed presetting for iPad & iPhone. To get the output files fully compatible with your iPad & iPhone, you can select the corresponding format.
For iPad, you just need to go to Format -> iPad -> iPad Video H.264 (*.mp4).
For iPhone , choose Format -> iPhone -> iPhone MPEG-4 Video (*.mp4).
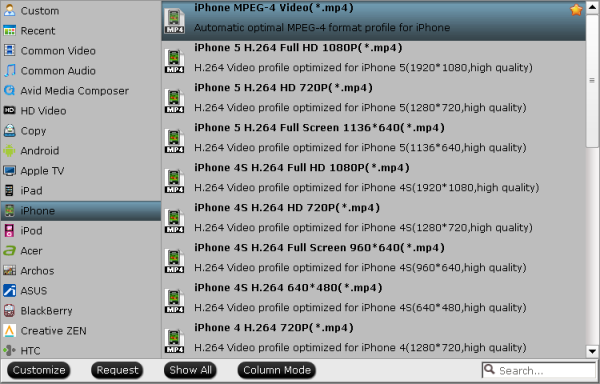
Tips:
If you want to convert videos to iPhone 5 with best settings, you can download profile patch for the software. The profile"iPhone 5 H.264 Full HD 1080P(*.mp4)", "iPhone 5 H.264 HD 720P(*.mp4)" and "iPhone 5 H.264 Full Screen 1136*640(*.mp4)" are all available in Patch.
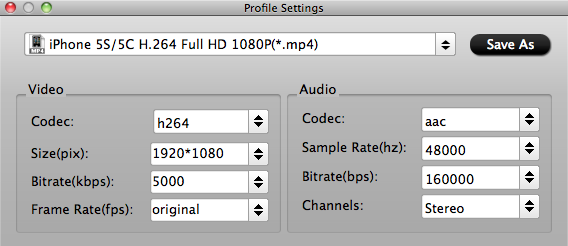
Step 3. Customize outputting video specs. (Optional)
You can click Settings bottom to adjust the output parameters including video codec, size, bitrate, framerate and sample rate(Hz).
Step 4. Start converting DVD to iPad & iPhone.
Click the red "Convert" to start converting DVD to MP4 for iPad & iPhone. After conversion, you can click "Open output folder" to quick location converted videos.
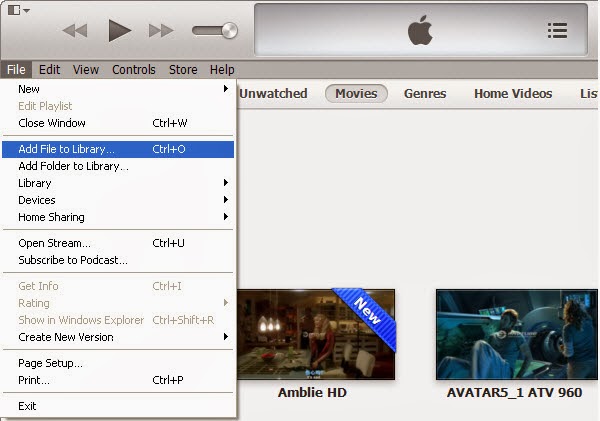
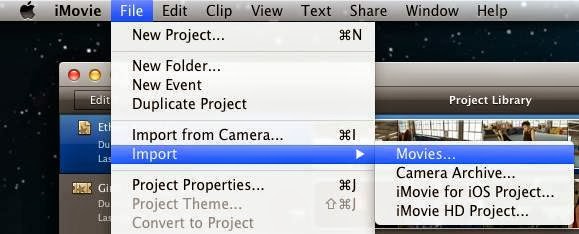
How to sync video, photo, music to iTunes on Windows/Mac?
How to sync media contents from iTunes to iPhone/iPad/iPod?
Related Articles:
Rip Blu-ray to iPhone 5S/5C with best quality
How to view MKV with DTS audio on iPhone 5C
Convert Tivo for transferring to iPhone 5C
Play DVD ISO/IFO on iPhone 5S/5C