Let me guess? You are a football fan and want to watch 2014 World Cup video on your iPad on your hand on the go? Read the article to learn how to make it.
Every four years, football fans get together in competition or in front of TV or PC to cheer for FIFA World Cup match. The right to host FIFA World Cup 2014 has been won by Brazil, which is the world’s leading football power. This one-month football match will start from June 12 and last to July 13, totally holding 64 matches in 12 cities in Brazil.
Read more:
To watch plenty of 2014 World Cup exciting moments on the hand on the go, an easy-to-use yet professional converting tool is needed. Here I’d like to introduce Pavtube HD Video Converter which works well in converting any donwloaded video of 2014 FIFA World Cup to iPad supported format like MP4 format and then copy them to the iPad using iTunes for watching.
Becides, if you are a BD/DVD lover, you can use this tool to do your disc ripping. In colusion, it is an all-in-one converting program for Blu-ray/DVD/HD video coversion with simplest workflow and reliable video quality. For Mac users, please turn to HD Video Converter For Mac.
Download a free trial version here:
Guide: Converting 2014 FIFA World Cup Video to iPad friendly format
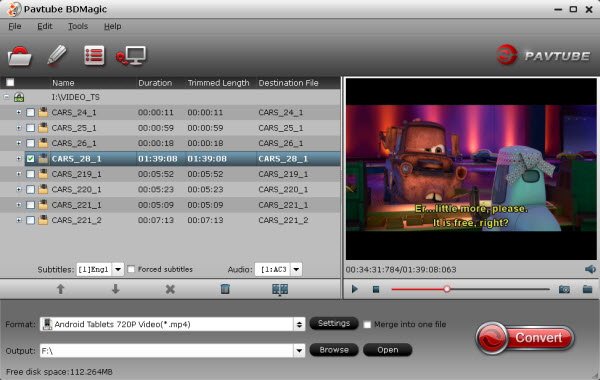
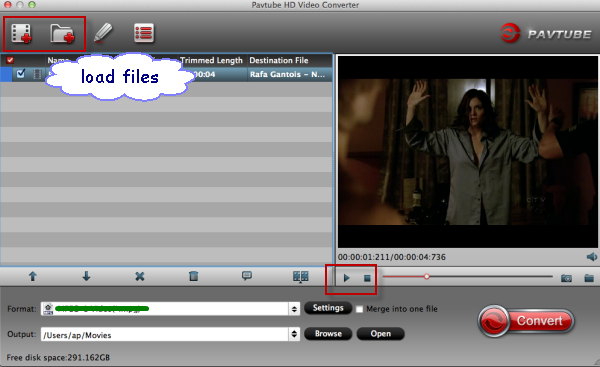
Step One. Add videos to iPad Video Converter Ultimate.
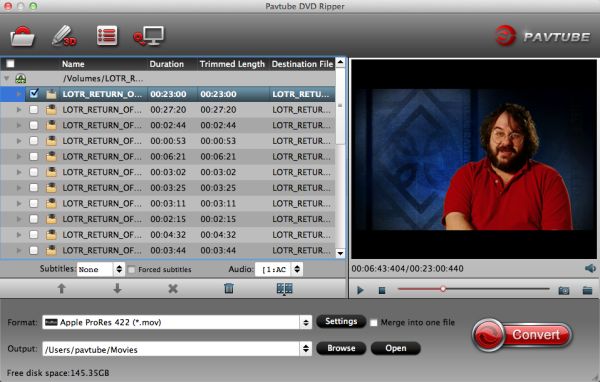
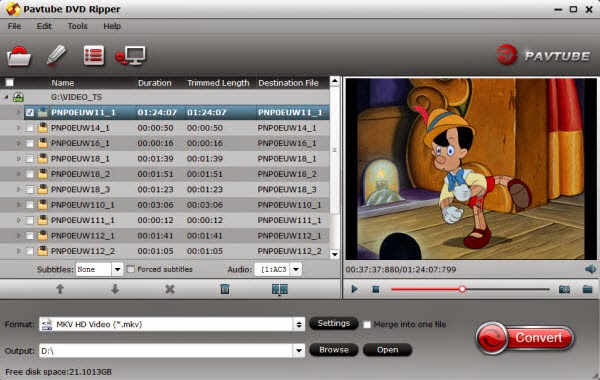
Click the "Add Video" icon to add your source World Cup videos, or drag-and-drop them directly.
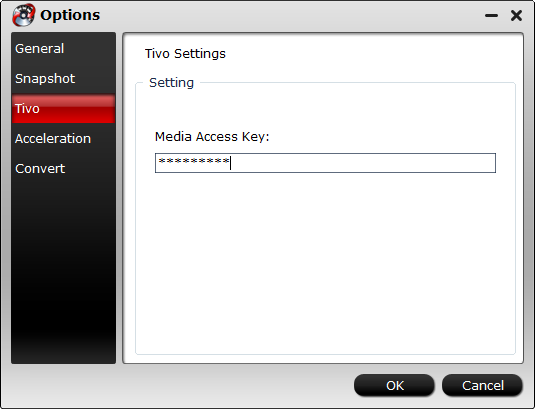
Pls note that if you import a Tivo file, you will be asked to submit Tivo key in the pop-up window.
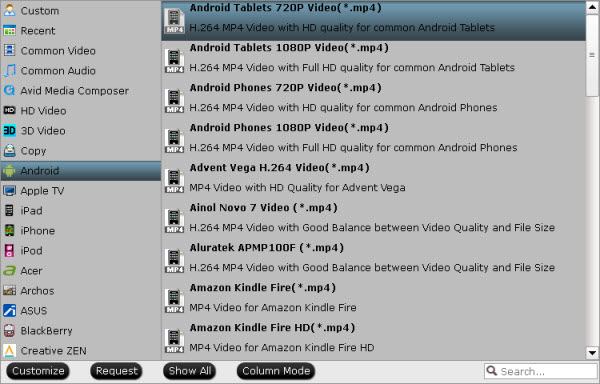
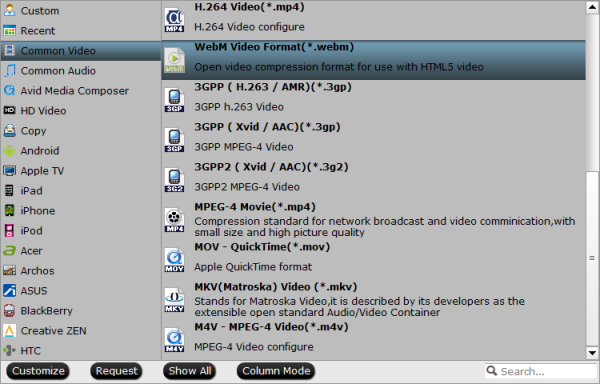
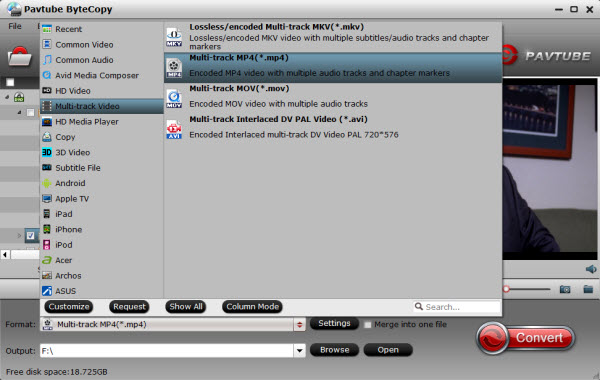
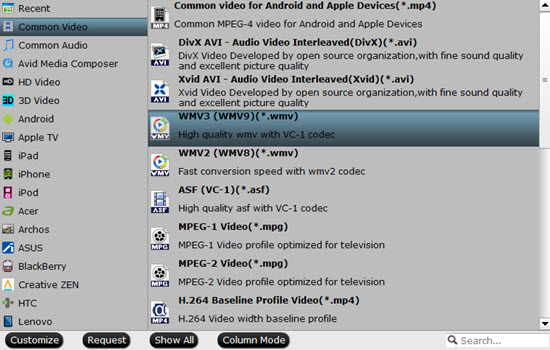
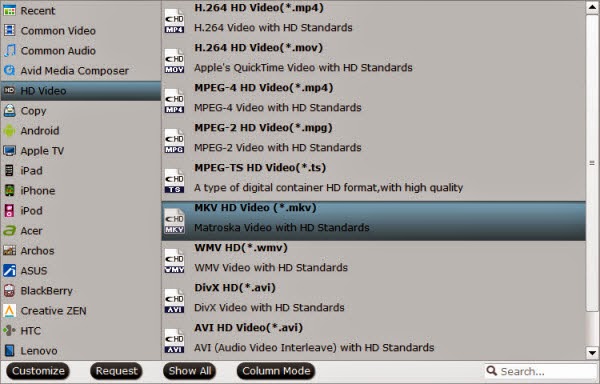
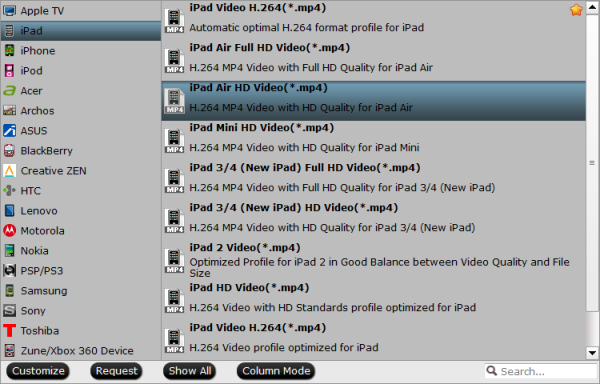
Step Two. Choose target video format.
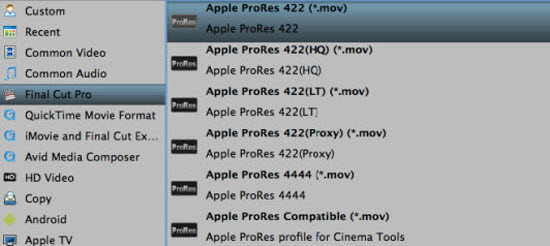
Click the drop-down list on the bottom, we can see various presets for iPhone, iPad, iPod, Android phones/tablets, editing programs, Xbox360, etc. Let's click "iPad" on the left, and then we will find all the presets for different models of iPad.
Note: To get iPad Air preset, you should also install the Patch in advance, but now only windows version have the patch file.
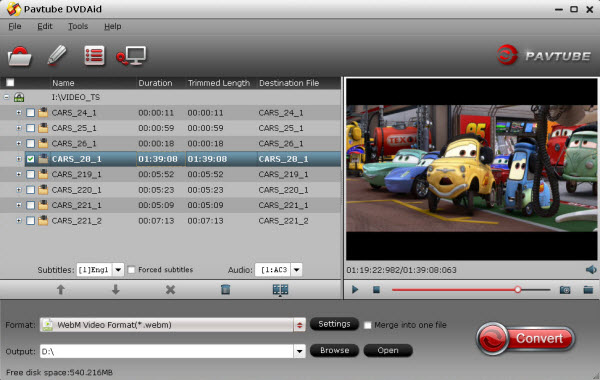
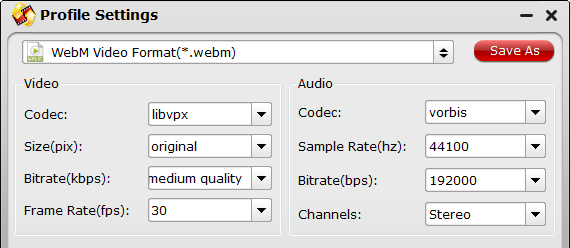
Step Three. Customize video specs. (Optional)
Click "Settings" to open profiles settings window. Here you are able to customize video size, bitrate, frame rate, sample rate(Hz)…all the specs can be fixed manually. A personal tip: the higher bitrate you choose, the better video quality will be; and you will get videos in larger size.
Step Four. Start Conversion.
Go ahead and hit the "Convert". It will pop up a conversion window with detailed prorecess. Wait for moments, you can click "Open output folder" to locate the converted video directly. Or you can check "shut down computer after conversion" and just leave it running.
When the conversion is done, you can finally sync FIFA World Cup video to your iPad for watching anywhere anytime you like.
Tips: Here is tips for transferring converted video to iPad
To put videos, music and photos to iPad, iTunes 11 is a must. You can download iTunes 11 and follow the steps below to put Video, DVD, Blu-ray movie to iPad. If you use manual syncing, you can sync items from more than one iTunes library to your iPad. Follow the instructions below to manually sync movies to iPad in iTunes 11.
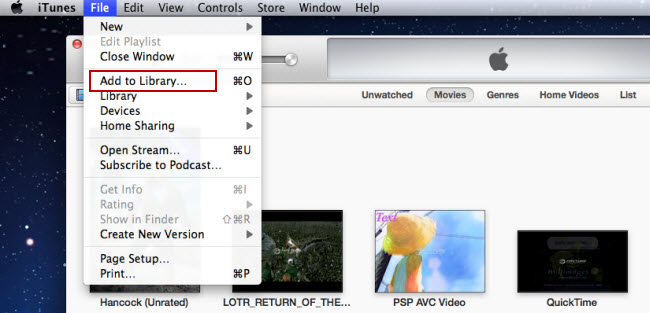
1. Open iTunes 11, and press "File" -> "Add File to Library" to add movies to iTunes Library. Or just switch to Movie library, and drag the file to iTunes. (How to add local contents on your computer to iTunes)
2. Connect iPad with your computer using the cable that came with your device.
3. Click the Summary button and select "Manually manage music and videos".
4. Click the On This Device (your iPad name) button.
5. Click Add To on the right side of the iTunes window.
6. Switch to Movies Drag items from the left side of the iTunes window to the pane on the right.
Related Articles:
Every four years, football fans get together in competition or in front of TV or PC to cheer for FIFA World Cup match. The right to host FIFA World Cup 2014 has been won by Brazil, which is the world’s leading football power. This one-month football match will start from June 12 and last to July 13, totally holding 64 matches in 12 cities in Brazil.
Read more:
- Video Game Review: 2014 FIFA World Cup Brazil
- Top 10 Best National Football Team in 2014 to Win World Cup
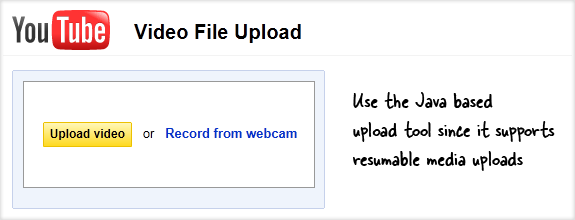
- YouTube Top Ten Most-viewed FIFA World Cup Videos
- FIFA 14 Ultimate Team: World Cup, Kick-Off Mode delayed to fix 'unforeseen issues'
If you are a football fan and your are so occupied that you can't make time leave for Brazil, you may choose to directly watch World Cup videos from YouTube or other video sharing sites. But this means you have to be patient of ads and bear long-term buffering because of bad network. No biggie, you can still keep up with the goings on in 2014 FIFA World Cup Brazil when you're on the move by watching your on iPad offline.
To watch plenty of 2014 World Cup exciting moments on the hand on the go, an easy-to-use yet professional converting tool is needed. Here I’d like to introduce Pavtube HD Video Converter which works well in converting any donwloaded video of 2014 FIFA World Cup to iPad supported format like MP4 format and then copy them to the iPad using iTunes for watching.
Becides, if you are a BD/DVD lover, you can use this tool to do your disc ripping. In colusion, it is an all-in-one converting program for Blu-ray/DVD/HD video coversion with simplest workflow and reliable video quality. For Mac users, please turn to HD Video Converter For Mac.
Download a free trial version here:
Guide: Converting 2014 FIFA World Cup Video to iPad friendly format
Step One. Add videos to iPad Video Converter Ultimate.
Click the "Add Video" icon to add your source World Cup videos, or drag-and-drop them directly.
Pls note that if you import a Tivo file, you will be asked to submit Tivo key in the pop-up window.
Step Two. Choose target video format.
Click the drop-down list on the bottom, we can see various presets for iPhone, iPad, iPod, Android phones/tablets, editing programs, Xbox360, etc. Let's click "iPad" on the left, and then we will find all the presets for different models of iPad.
Note: To get iPad Air preset, you should also install the Patch in advance, but now only windows version have the patch file.
Step Three. Customize video specs. (Optional)
Click "Settings" to open profiles settings window. Here you are able to customize video size, bitrate, frame rate, sample rate(Hz)…all the specs can be fixed manually. A personal tip: the higher bitrate you choose, the better video quality will be; and you will get videos in larger size.
Step Four. Start Conversion.
Go ahead and hit the "Convert". It will pop up a conversion window with detailed prorecess. Wait for moments, you can click "Open output folder" to locate the converted video directly. Or you can check "shut down computer after conversion" and just leave it running.
When the conversion is done, you can finally sync FIFA World Cup video to your iPad for watching anywhere anytime you like.
Tips: Here is tips for transferring converted video to iPad
To put videos, music and photos to iPad, iTunes 11 is a must. You can download iTunes 11 and follow the steps below to put Video, DVD, Blu-ray movie to iPad. If you use manual syncing, you can sync items from more than one iTunes library to your iPad. Follow the instructions below to manually sync movies to iPad in iTunes 11.
1. Open iTunes 11, and press "File" -> "Add File to Library" to add movies to iTunes Library. Or just switch to Movie library, and drag the file to iTunes. (How to add local contents on your computer to iTunes)
2. Connect iPad with your computer using the cable that came with your device.
3. Click the Summary button and select "Manually manage music and videos".
4. Click the On This Device (your iPad name) button.
5. Click Add To on the right side of the iTunes window.
6. Switch to Movies Drag items from the left side of the iTunes window to the pane on the right.
Related Articles: