Summary: Want to rip and copy large BR selection to access home entertainment system for watching when travelling? Looking for a best Blu-ray to MKV ripping tool? This article will give you the best answer.
Blu-ray disc has been widely applied in a variety of ends. Wanna rip large BR selection so that you can bring them along for my travel and also as part of easy to access
home entertainment system? Then the best way to store or backup a disc is to convert/copy your Blu-ray movie to mkv recording. As we know, many players as well as the Home theatre can support mkv video playback which will ensure your wonderful viewing experience.
Yeah, in other hand, how to make it possible to rip blu-ray to mkv? How to keep the best video quality? Don't worry! There are many programs out there that allow you to make copies of your Blu-ray with mkv format and let you watch them the way you want to view them.
After several trials, we recommended this
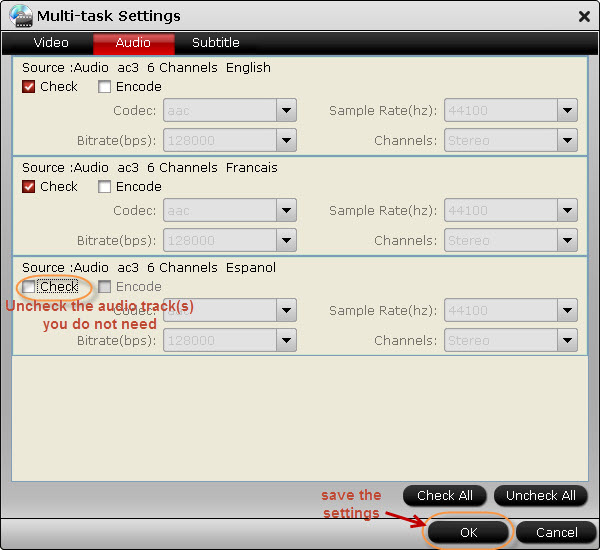
Pavtube ByteCopy- the best BR Ripper which has highly highly evaluation from CNet. I choose it as it's really ease of use with providing clear user manual. It does a great job in quick decrypting the protected Blu-ray and DVD discs to compatible format for playback within a few clicks. Besides, the most important thing is that it can handle the latest Blu-ray/DVD and is capable of backup them to lossless MKV format preserving all the multiple audio and subtitle tracks as well as chapter markers.
Now with it, I can freely watch Blu-ray via home theatre with mkv format and on my portable devices like iPhone, ipad, galaxy tab 3 with MP4 format. It can offers an easy way to view my multimedia blu-ray movies. And here let me show you how to backup Blu-ray to MKV format to access home entertainment system.
You are free to try
free trial version (
Pavtube ByteCopy for Mac is for Mac users).
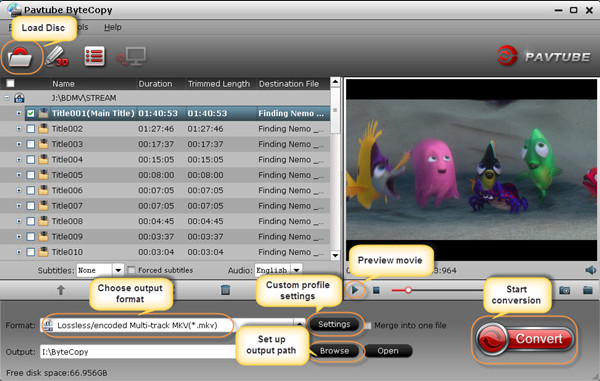
1. Import Blu-ray to Pavtube ByteCopy.
Click "Load file" icon on the top left to load the Blu-ray disc.

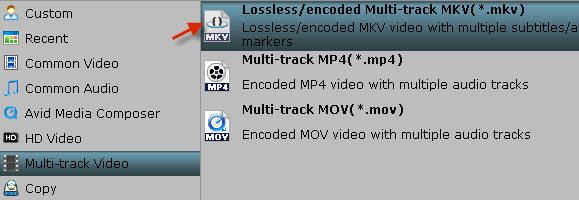
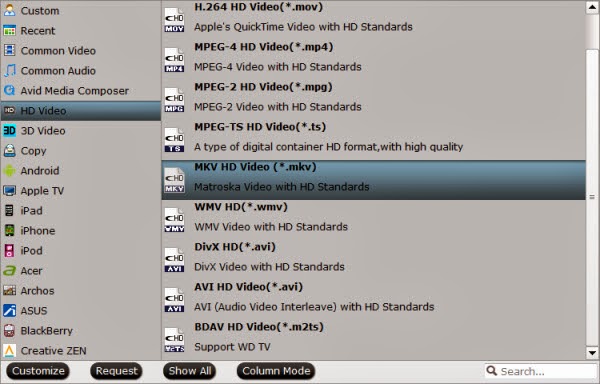
2. Choose MKV format for watching.
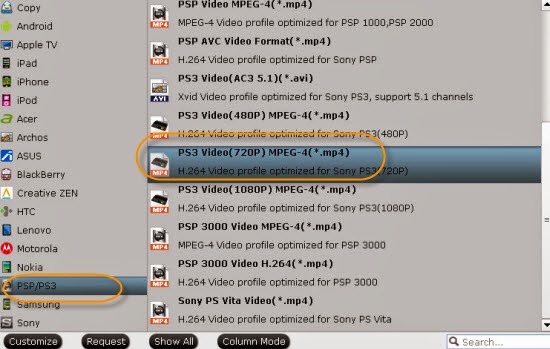
Under "Format" menu, there are lots of video formats. Go to find "Common Video" option and choose "MKV(Matroska) Video (*.mkv)" for Home theatre. If you want to play/stream Blu-ray onto your portable devices, select "H.264 Video(*.mp4)".

Tips: If you want to convert Blu-ray to other video formats or portable devices, just choose the video format you need or select portable devices in the dropdown list.
3. Start conversion.
Click big "Convert" button to start conversion. It won't take much time for conversion and then you will get the converted mkv/mp4 once completed. Hit "Open" button you will go to location of generated files.
Learn more details about how to rip Blu-ray disc to MKV format and then go to fully
enjoy your favorite Blu-ray via home entertainment system whenever you wanna.
More features in ByteCopy:
* Full Disc Copy can 1:1 backup the whole Blu-ray/DVD disc with original structure including chapter markers.
* Directly Copy will backup 100% intact Blu-ray main movie with all the multiple tracks excluding menu.
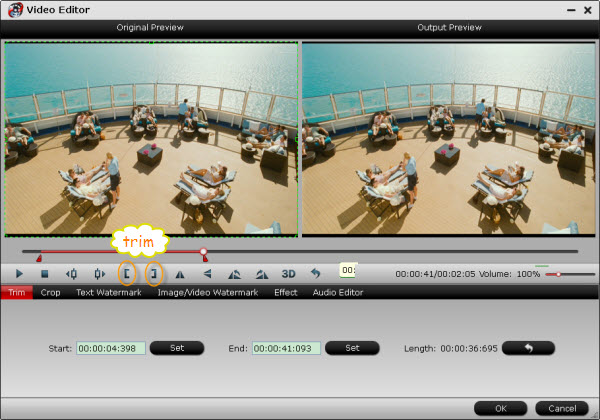
* Contain all the features of Blu-ray Ripper: rip and convert latest Blu-ray/DVD to various video formats for playback or editing, edit the video before conversion including trim, crop, effect, etc, add *sst and *ass subtitle into video part and so on.
Money Saving Software Bundles are coming and it will provide big special sale on much software bundled with ByteCopy, like ByteCopy+Video Converter Ultimate, ByteCopy+DVD Creator, ByteCopy+Video Converter, ByteCopy+MXF MultiMixer, etc. If you have many other videos to deal with, it is the right place for you. Just go to find your favorite.
Read more:
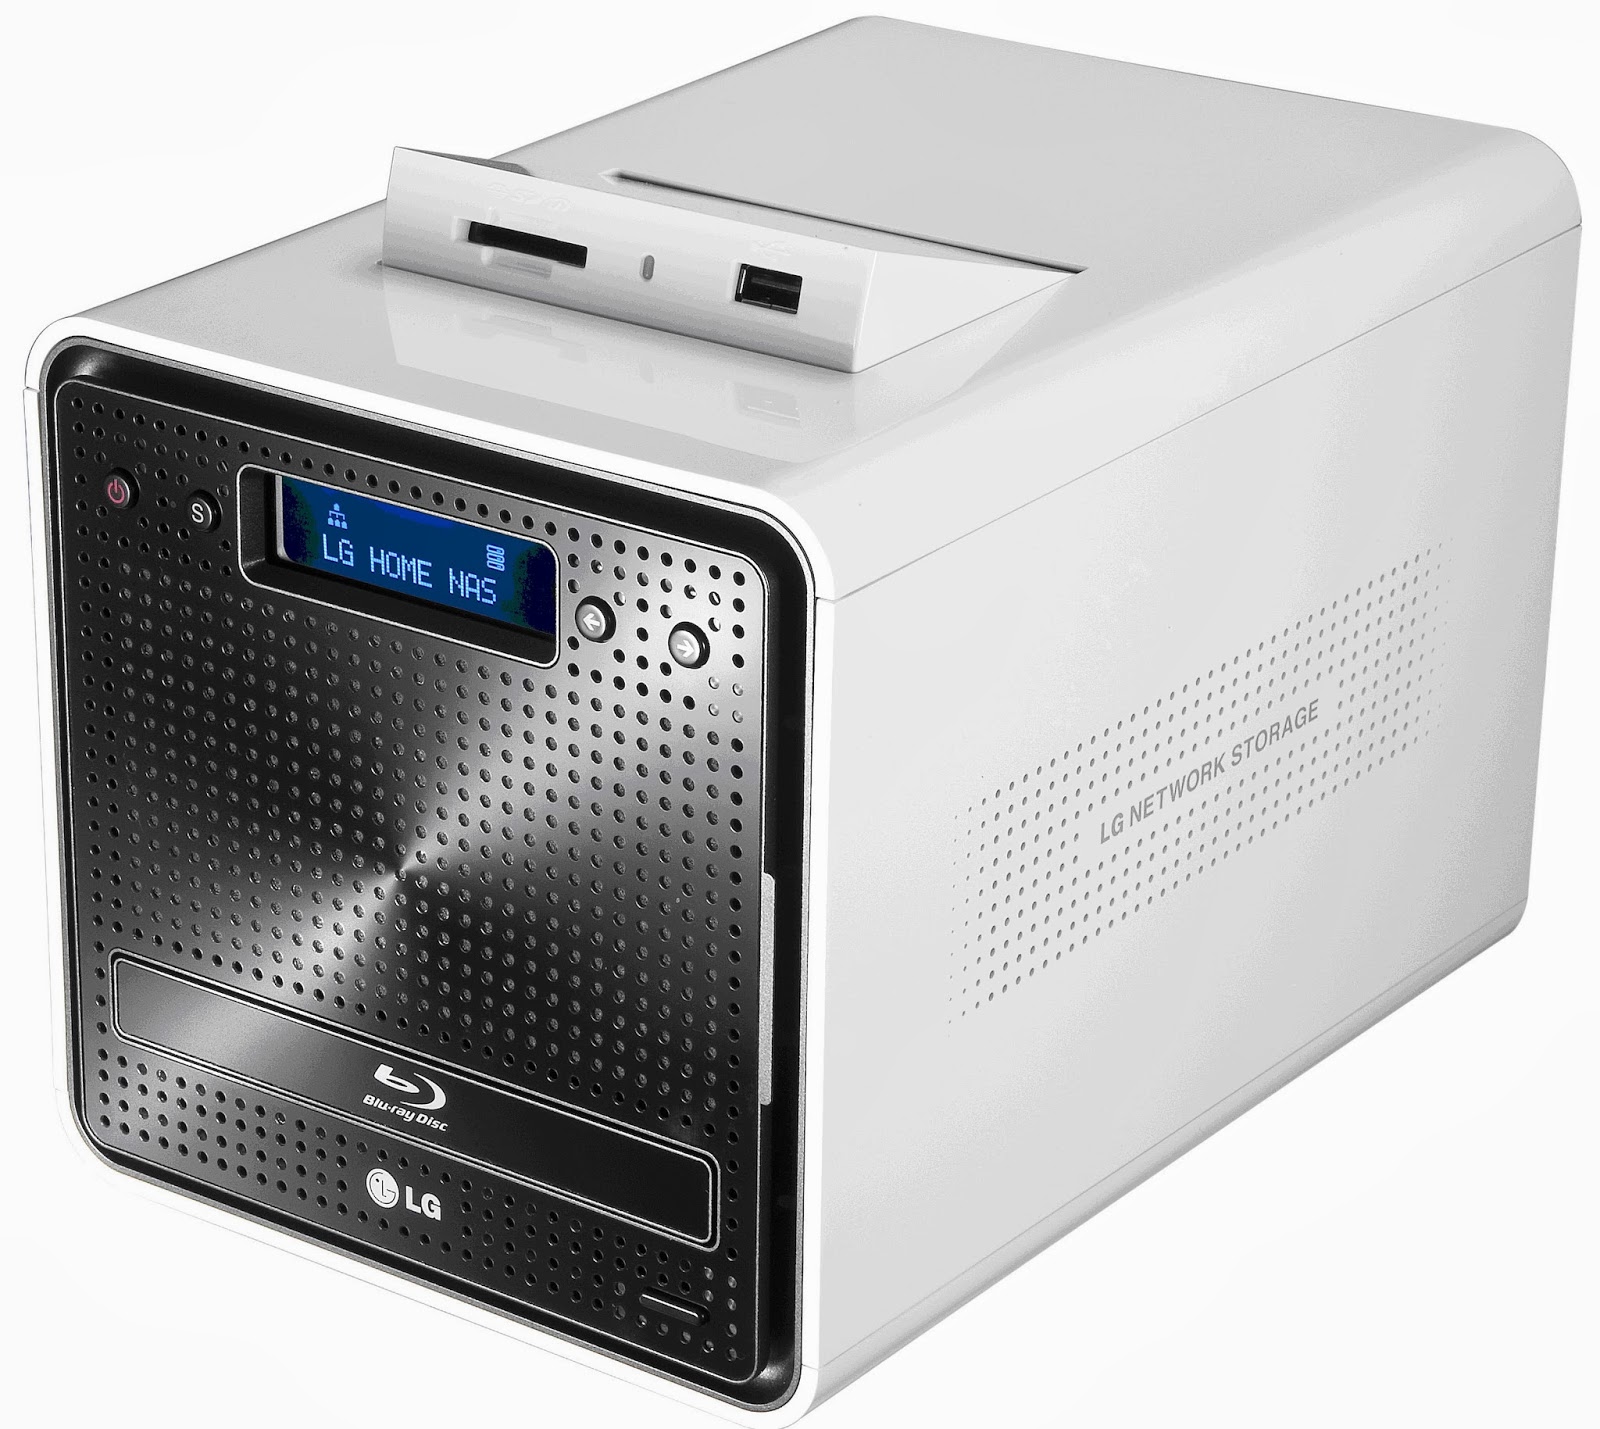
Stream BR Disc movies for watching via local SAN Device
Play ripped Blu-ray MKV files in MPlayer with wanted audio and subtitles track
Watch Blu-ray movies on Samsung Smart TV
How to do Blu-ray playback using Media Player Classic Homecinema