Wanna have a try of watching the H.265 high definition movies on smart TV on Mac OS X Yosemite but with some troubles? For learning more introduction of H.265/HEVC and solve the issues of watching H.265 videos on media devices, here we can get the best H.265 decoder/encoder to smoothly enjoy the H.265 movies on smart TV nicely.
‘Hello there, you know I got some recordings of the outdoor activities which shot by my new Samsung NX1 high definition 4K camcorder. I have tried to move them to smart TV for watching at home but failed. ‘errors’ always there I cannot remove them off well. Any good solutions?’
Cause the smart TV has the big screen and high resolution that can bring us a perfect enjoyment, most user may would like to enjoy movies on smart TV at home especially for those HD movies, right? However, we cannot put all kinds of videos formats directly due to the best video formats for smart TV. Such as the MTS to smart TV, etc. So in order to import the H.265 videos to smart TV so smoothly, we are glad to tell you the good news here. Pavtube studio currently developed the Pavtube Video Converter for Mac to solve the problems well.
What’s new in this upgraded Mac Video Converter?
1. Upgraded to decode/encode the H.265/HEVC videos
2. Fix the crash problems of XAVC.MXF
3. Optimize the codec parameters
4 .Fix some bugs
What’s more important, this H.265 to smart TV converter can also decode the original H.265 videos to others to suit for other NLEs like FCP or media devices like QuickTime, etc. With the fast conversion speed and more functional editing items, you will enjoy the H.265 movies on smart TV with a high quality. Let’s below see how this job works:
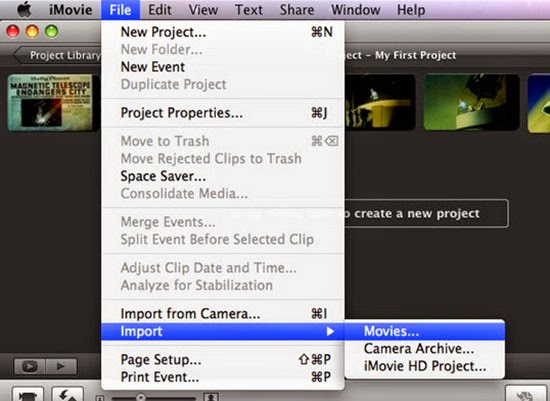
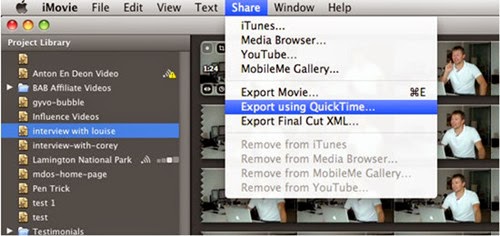
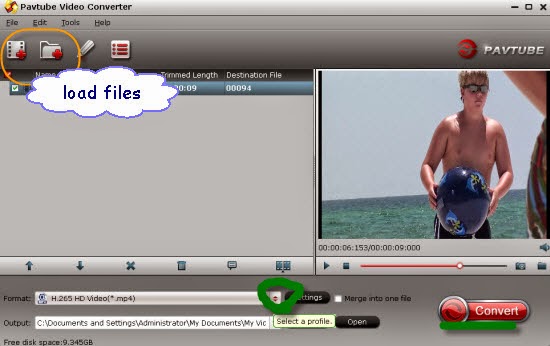
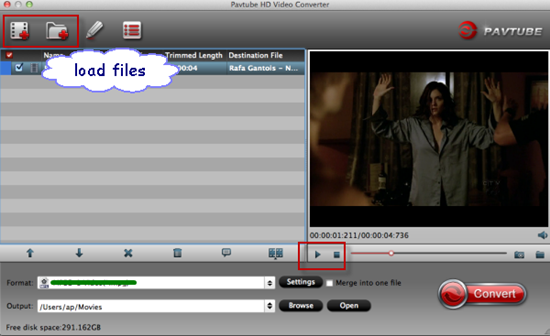
Step 1.To add source video to the HEVC Video Converter, you can directly drag and drop them into the program window or go to “File” from menu bar and then choose “Add Files”.

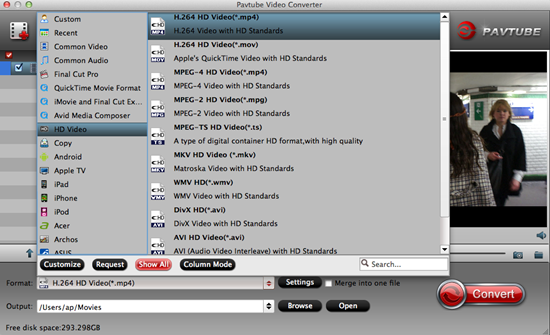
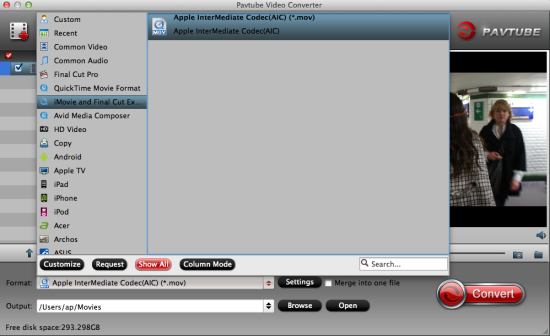
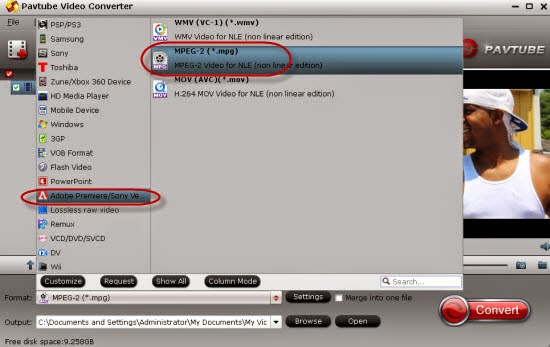
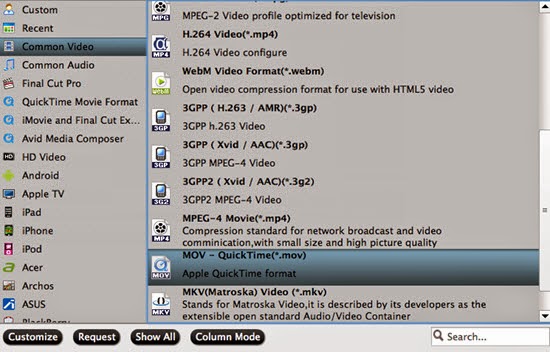
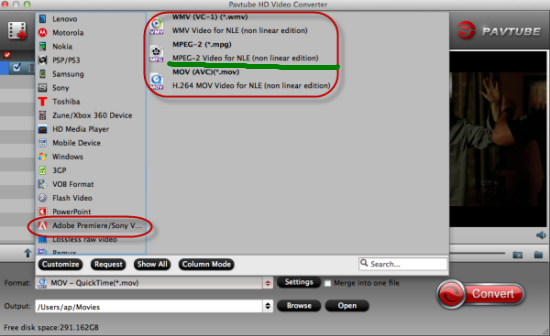
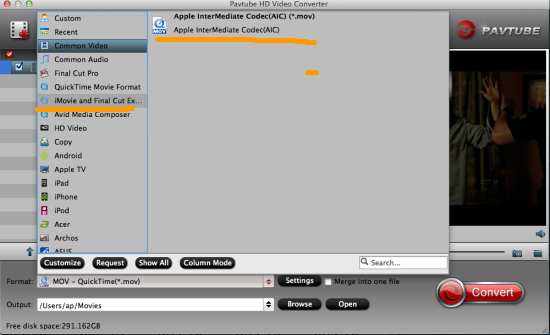
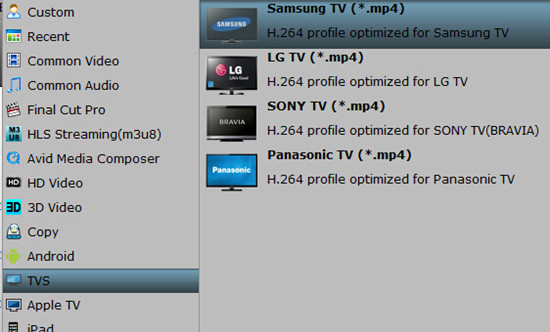
Step 2. Choose the right output items for smart TV? Come to the output list, you'd better choose suitable formats from "TVs".
Click the “Effect” button to open the Video Edit window to achieve editing MP4 like trim, crop, image, watermark, effect, subtitles and rotate and etc in the corresponding editing pane.
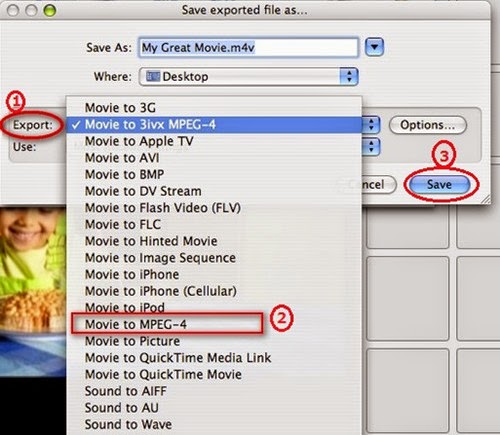
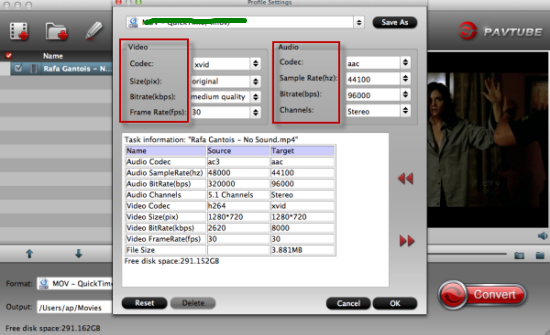
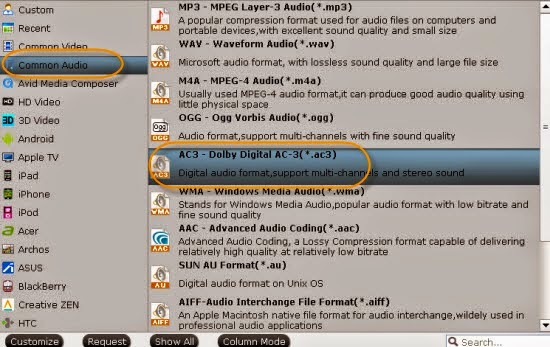
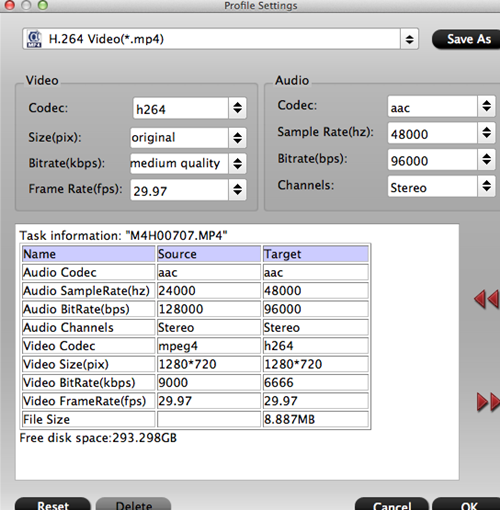
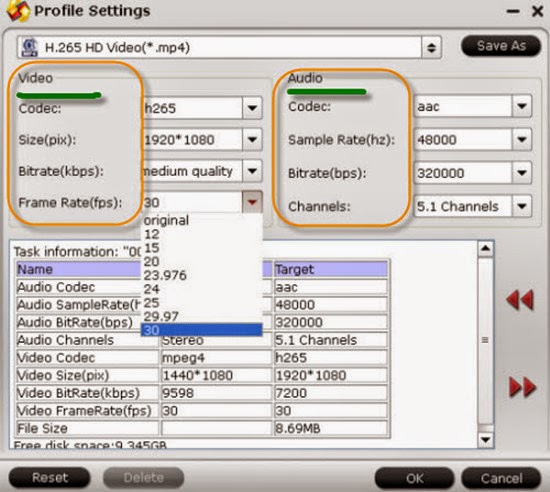
Click the “Setting…” button to open the Advanced Settings window to adjust the output video codec, resolution, bitrates, frame rate, aspect ratio, audio codec, channel, volume and etc in the advanced tab.
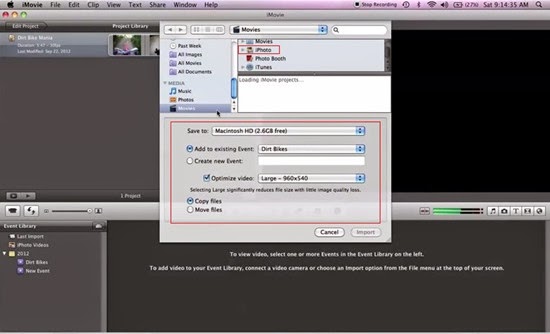
Finally, hit the “Convert” button to let this smart converter start encoding H.265/HEVC video to smart TV MP4. When the conversion is done, you can stream and play the converted video in smart TV without hassle. To have a smooth H.265/HEVC video playback on smart TV, this professional H.265/HEVC Video Converter is the best choice.
For more?