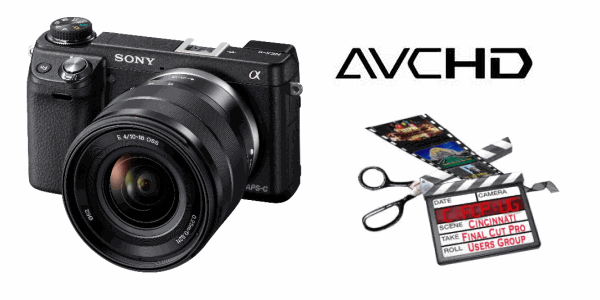
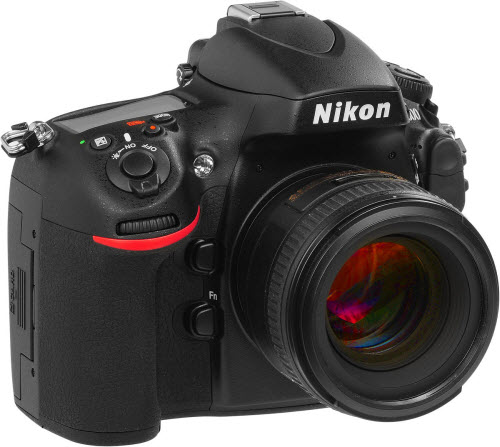
Panasonic Lumix DMC-ZS30 (TZ40 in Europe) is the latest version of the
company's hugely popular travel zoom camera. Announced in January 2013, it comes
exactly one year after its predecessor, the best-selling ZS20/TZ30, and like
that model the ZS30/TZ40 becomes the first of the new crop of pocket super-zooms
to reach the market.
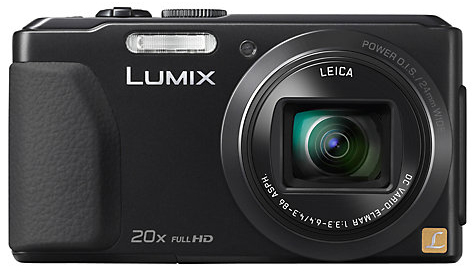
The most important specification of any super-zoom is of course the optical range, and for the new ZS30. Panasonic has however improved the image stabilization with a new five-axis correction system that claims to particularly benefit movie shooting. The compact camera DMC-ZS30 can shoot 1080p60 AVCHD/MPEG-4 video. Besides it is packed with a whole range of features that provide outstanding performance in every environment. No matter what time of the day or night, the camera guarantees outstanding results due to the 24mm Ultra Wide Angle LEICA DC lens and 20x Optical Zoom.
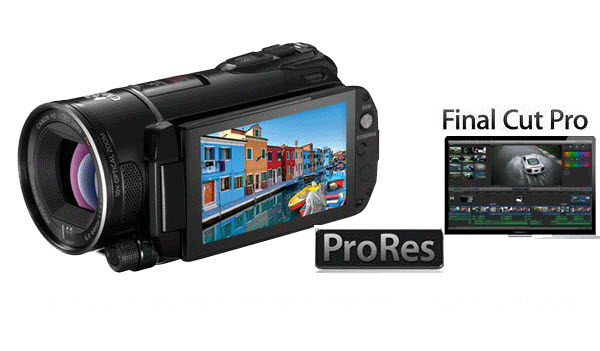
If you have got this WiFi enabled compact long zoom camera, you can use it to record 1080 60p AVCHD and MP4 videos. When the capturing process is over, you may want to do some post workflow with the video to make them more delicate and amusing to share with your friends. Here we share the solution to transfer Panasonic DMC-ZS30 AVCHD to FCP 6/7 on Mac with you.
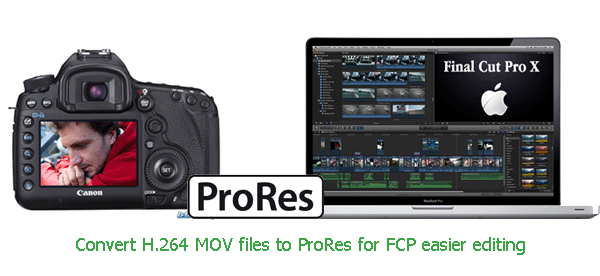
Take the Lumix DMC-ZS30 and Mac compatibility into account, we find the common Mac tool Final Cut Pro 6/7 can’t ingest the 1080 60p footage from Panasonic DMC-ZS30. The best workaround is to transcode the 1080 60p AVCHD to ProRes for FCP 6. You can get the best and yet professional MTS Converter for Mac to fast convert Panasonic Lumix DMC-ZS30 video to ProRes 422 without losing quality. This tool is also can be applied for Lumix DMC-ZS25 users. Now let’s start the AVCHD to ProRes conversion on Mac OS X.
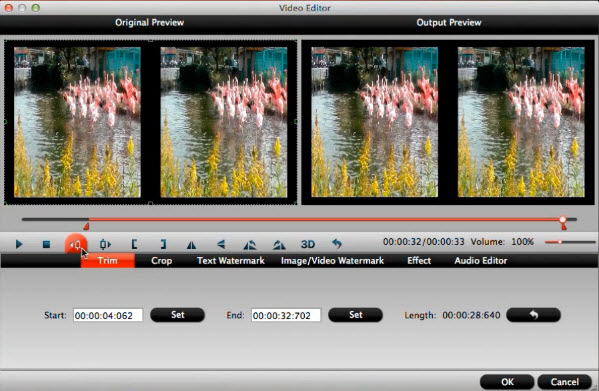
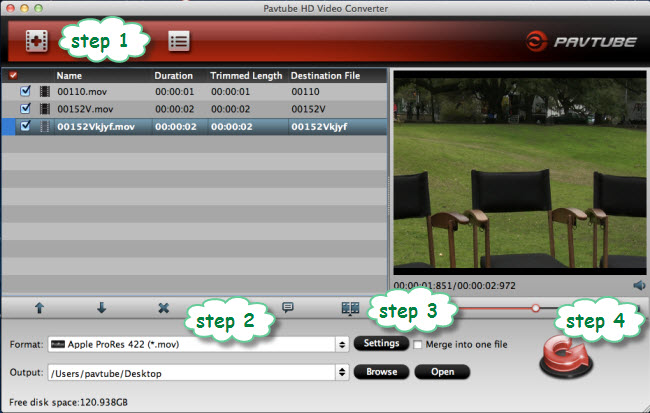
Now please follow the steps below to convert Panasonic ZS30 AVCHD to Prores .mov for FCP 6/7 editing on Mac.
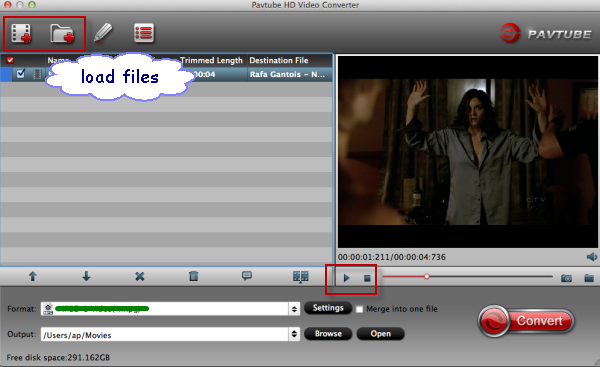
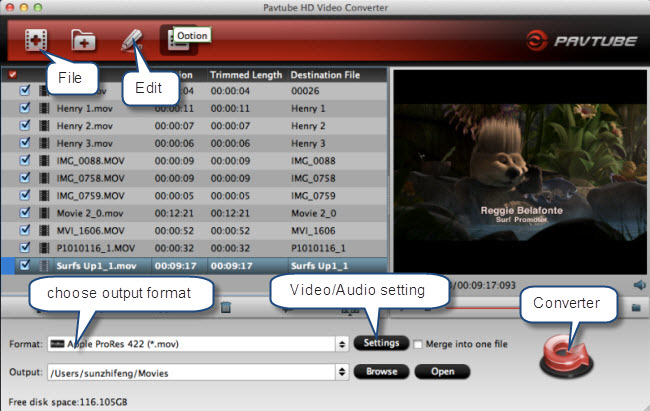
1. Go to download and install the best Mac Panasonic MTS Converter to make the transcoding task without quality loss, which offers you particular Apple ProRes profiles for Final Cut Pro. It also provides AIC codec for iMovie/FCE and DNxHD for Avid. Then launch the software to import your AVCHD clips to it.
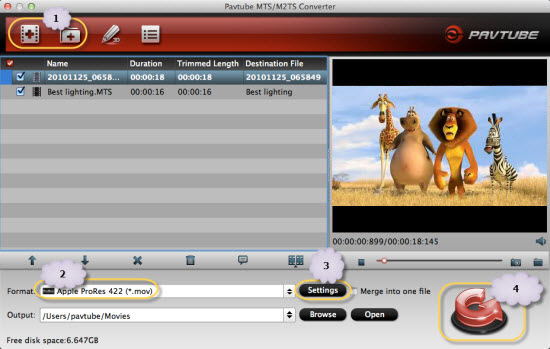
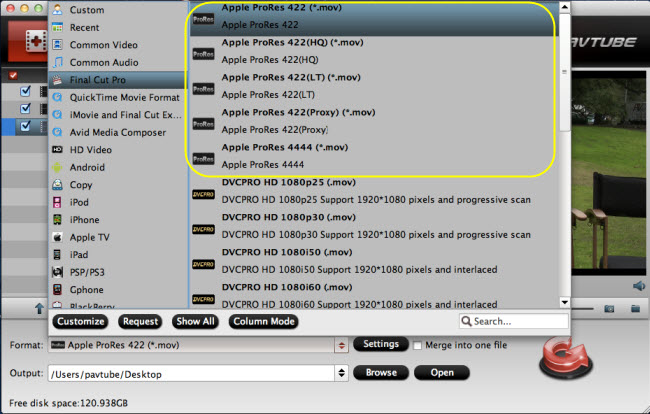
2. Click on the Format box to select Final Cut Pro > Apple ProRes 422(*.mov) as the output format for editing ZS30 MTS in FCP.

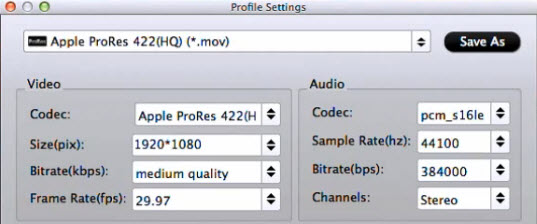
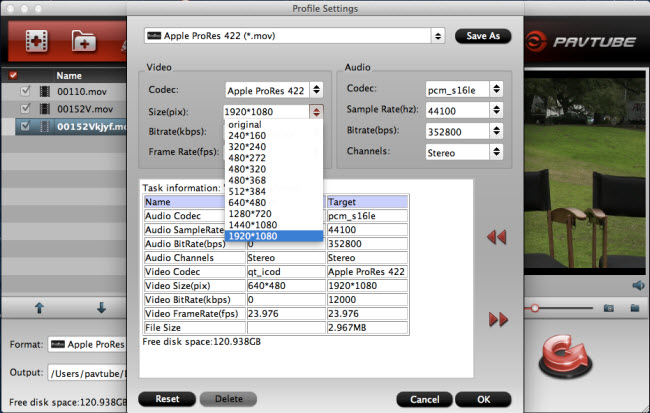
3. You can click the Settings icon to do some audio/video settings. We recommend 1920*1080 as video size and 30fps as video bitrate for easier editing on Mac. If you are in PAL(50p) area, you are recommended 25fps as video bitrate.

4. Hit the Convert button; it will convert Panasonic ZS30 1080p AVCHD to FCP 6/7 on Mac immediately.
When the conversion process shows in 100% with the top AVCHD to MOV Converter Mac, you can get the resulted videos from output folder easily for importing and editing in FCP.
More related articles: