AT THE TOP of the bustling consumer drone marketplace, two big names have been battling (sometimes litigiously) for dominance. DJI popularized drone flying as a hobby with its Phantom line, but lately, Yuneec has been whittling into DJI’s marketshare with its competing Typhoon line. Both company’s flagship quadcopters are equipped with excellent video cameras, both are accessibly priced, and both have autonomous and safety-minded features that make flying easy for inexperienced pilots.
The Typhoon H is much more consumer-friendly. It bundles a very nice 4K video camera (shooting 30fps or 60fps in 1080p, and featuring 12-megapixel stills) and flies just fine with only one person at the controls. It can also be paired with a second controller though, which opens up the possibility of separate pilot and camera, something not easily done with any other similarly-priced drone on the market.

Why Downscale Typhoon-H 4K to 1080p?
While 4K Ultra HD is being in vogue nowadays bringing us marvelous viewing experiences, you could enjoy many amazing 4K UHD videos online shot by the new Typhoon-H. Nonetheless, many people are still struggling to compress and convert 4K to 1080p HD. Why? Probably because of following reasons:
One: 4K video file (4096 x 2160) is not compatible with most media players and mobile devices now, on the contrary, 1080p HD (1920 x 1080) works fine and can be widely played on VLC player, Windows Media Player, iPhone, iPad, Samsung, HTC etc.
Two: 4K videos are not supported by popular editing software like Premiere Pro, Avid Media Composer, Sony Movie Studio, DaVinci Resolve, Pinnacle Studio 17/16/15/14, Windows Movie Maker etc.
Three: It is cumbersome to edit 4k videos and upload 4k videos to video sharing sites like YouTube, Facebook, etc. because of its big file size and high definition.
...................
So in many cases, you may still need to convert Typhoon-H 4K video to 1080p for playing on media player/editing/sharing and more usages. Here we'll introduce you the fastest 4K video converter to help you easily accomplish the Typhoon-H 4K 4K to 1080p conversion compression task.
How to Downscale Typhoon-H 4K to 1080p with the easiest way?
To achieve converting and downscaling Typhoon-H 4K to 1080p, all you need is professional 4K to 1080p converter. Pavtube Video Converter is such a helpful and powerful 4K video converter receiving global acclaim. This first-class HD video converter is capable of converting any Typhoon-H 4K video to 1080p with the highest quality and a 6x faster real time converting speed with its built-in High Quality Engine, Multi-core CPU (utmost 8) and hardware acceleration including Intel QSV, Nvidia CUDA/NVENC tech, etc.
What's more, this stellar 1080p video converter compressor can also convert and reduce 4K video to 1080p HD in AVI, MP4, XAVC, H.265, WMV, MOV, FLV, MKV, M2TS etc; compress videos to editing software, iPhone 7/6S/6S Plus/6, iPad, Samsung, HTC and other 250+ preset profiles, so as to realize easy playback of 4K videos on any media player and mobile device. Advanced video editing functionality like customizing the video audio bit rate, video resolution, frame rate and changing aspect ratio are also accessible with this 4K video converter in the process of downsizing 4K UHD videos to 1080p. Finally, it is perfectly compatible with Windows 10/8/8.1//7, etc.
3 Steps to Downscale Typhoon-H 4K to 1080p with Pavtube Video Converter
1. 1. Download the free version of Pavtube Video Converter (Win version/Mac version) from the Internet then fire it up.
Win:


Other Download:
- Pavtube old official address: http://www.pavtube.com/video_converter/
- Amazon Download: http://download.cnet.com/Pavtube-Video-Converter/3000-2194_4-75734821.html
- Cnet Download: http://download.cnet.com/Pavtube-Video-Converter/3000-2194_4-75734821.html
Mac:


Other Download:
- Pavtube old official address: http://www.pavtube.com/video-converter-mac/
- Amazon Store Download: http://www.amazon.com/Pavtube-Video-Converter-Mac-Download/dp/B00QIBK0TQ
- Cnet Download: http://download.cnet.com/Pavtube-Video-Converter/3000-2194_4-76179460.html
Nex i will take the Windows as an example, and the Mac version is same with it. Just follow the guide to compress 4K to 1080p on Windows.
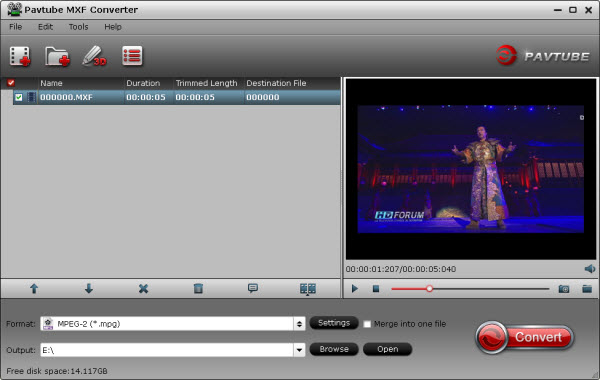
2. Once you have it, click the “Add File” in order to load your 4k videos files which you want to compress to whatever format you want.

3. In this case, you want your 4k video to be compressed to a 1080p video. While that’s the case, you have to select the 1080p output format and then choose the resolution which you desire from the window for parameter settings.
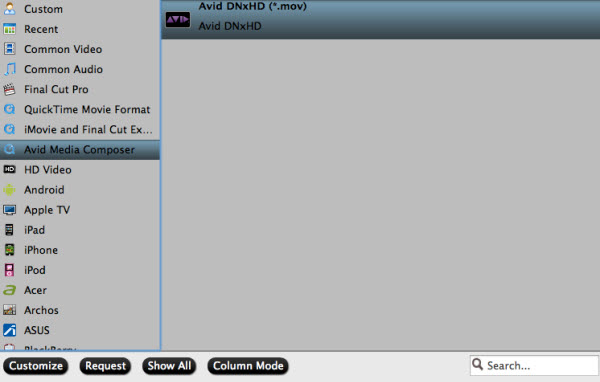
Click the "Format" drop down list to select a proper video foramt as you want. This video converter provides optimal profiles for kinds of editing programs and media devices, and you can also select a proper profile like HD Video > H.264 HD Video(*.mp4) or Common Video > MP4 as output format that best meets your needs.

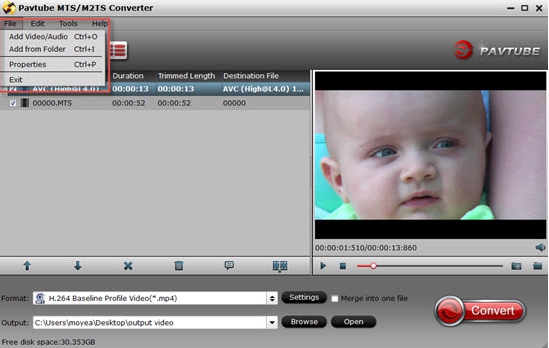
Click "Settings" button; you can adjust video and audio settings, including codec, aspect ratio, bit rate, frame rate, sample rate, and audio channel. To down-convert ultra HD 4K to 1080p/720p, do remember adjusting video size to 1920*1080 or 1280*720.

4. Start 4K to 1080p/720p Conversion
Hit "Convert" button to start downscaling 4K to 1080p/720p. It would take several minutes due to the file size. You can set "Shutdown converter after conversion" to do your other work. After the conversion, click Open to locate the generated 1080p/720p video.
Read More:
- Downscale Phantom 3 4K to 1080p/720p for Various Purposes
- Import DJI Phantom 4 4K Video to Avid Media Composer for Editing on Mac
- Import Sony A6300 4K XAVC S to Davinci Resolve 12 on Mac El Capitan
- Exporting from Phantom 3 Standard to edit in Final Cut Pro
- Solution for importing Phantom 3 Advanced videos to Premiere Pro
- Play Phantom 4 4K videos on Samsung/LG/Sony TV
- How to Transcode and Stream 4K Video with Synology NAS?