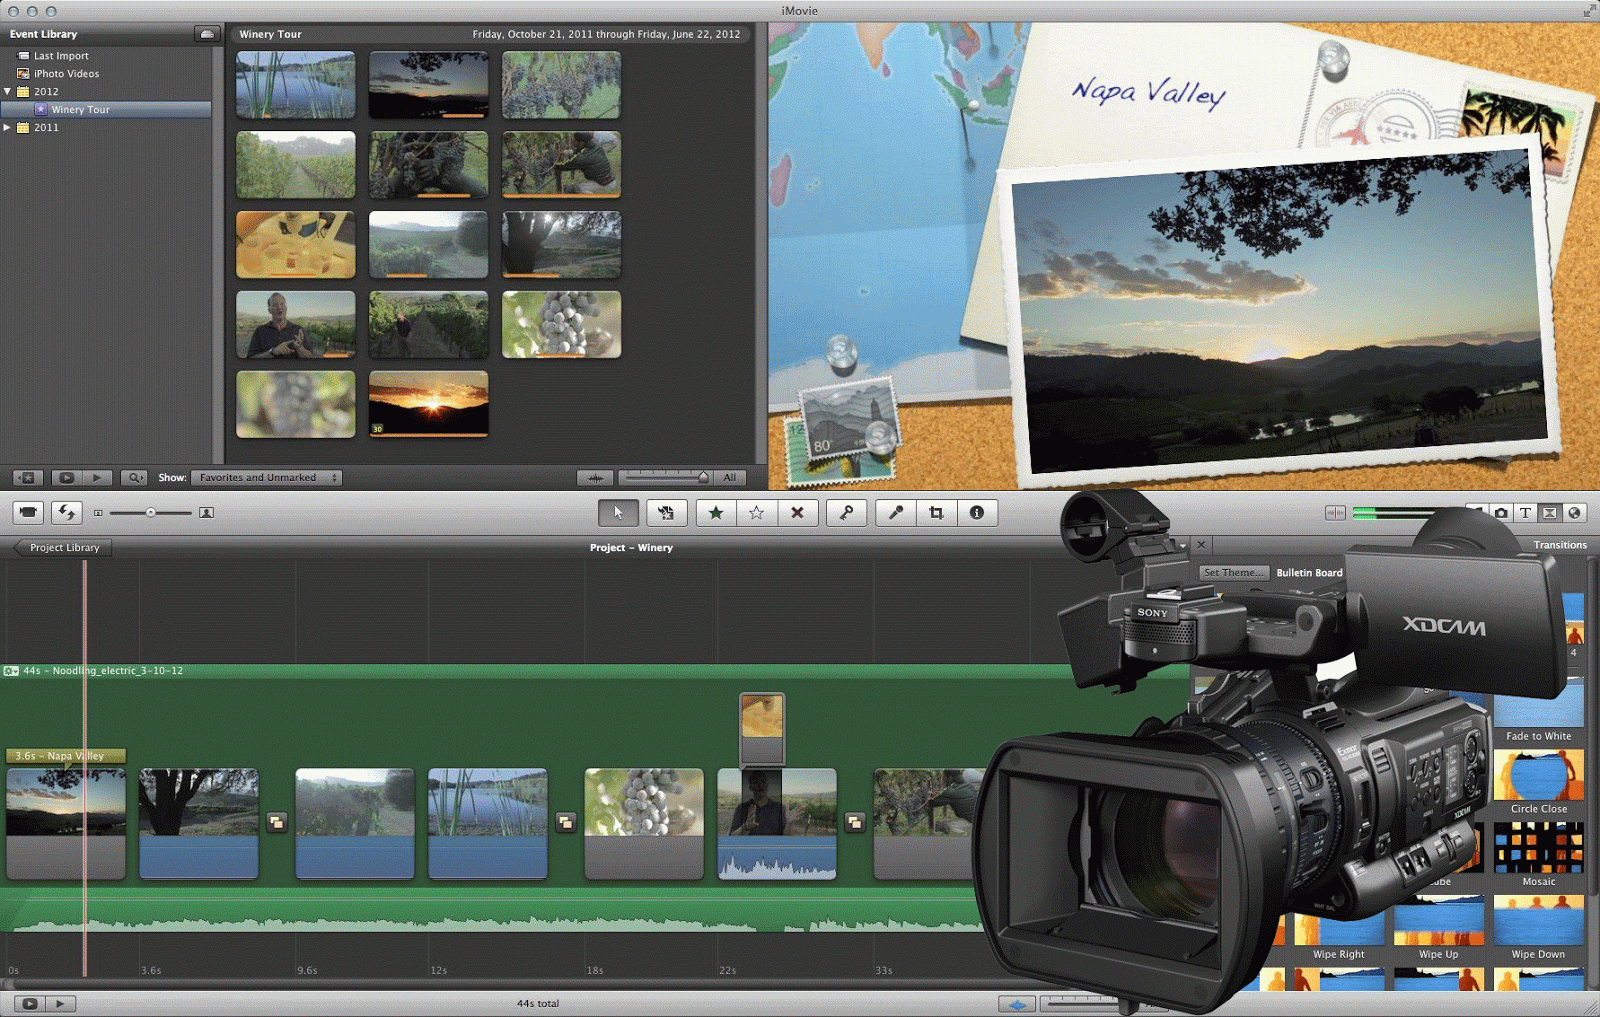
Summary: From this article, you can learn the best way to import Sony PMW-200
XDCAM MXF footage into Final Cut Pro on Mac by transcoding Sony
XDCAM HD422 MXF to Prores for FCP.
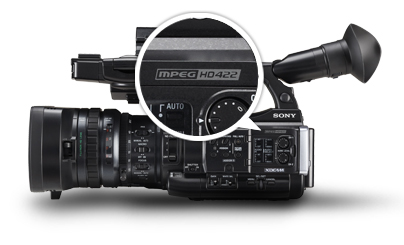
After making some 50 Mbps MPEG HD422 recordings from Sony PMW-200, you may find the MXF files are not support by Final Cut Pro on Mac natively. To solve the importing problem with Sony PMW-200 MXF and FCP workflow. Of course, you can choose to get a XDCAM Transfer. While, things can be different if you get some help from third-party software.
Now come and meet this Pavtube Sony XDCAM MXF Converter, which is capable of converting Sony PMW-200 MXF footage to Prores encoded mov files for that's the most compatible format for FCP.
How to convert Sony PMW-200 1080 50i MXF to Final Cut Pro on Mac
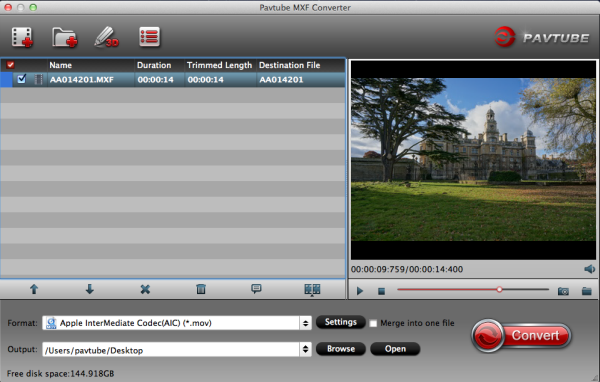
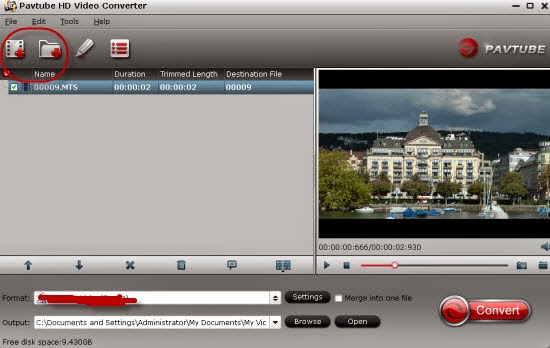
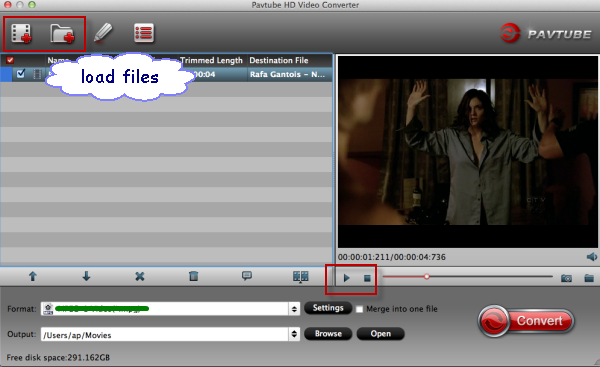
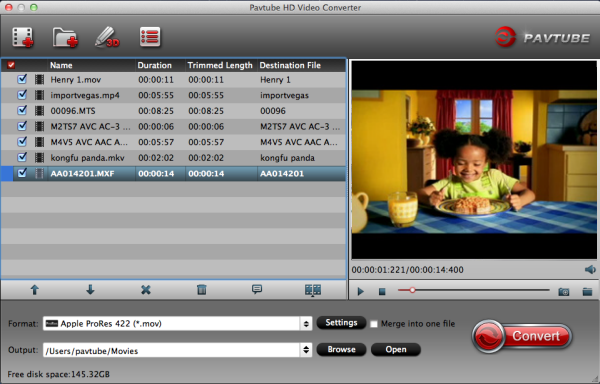
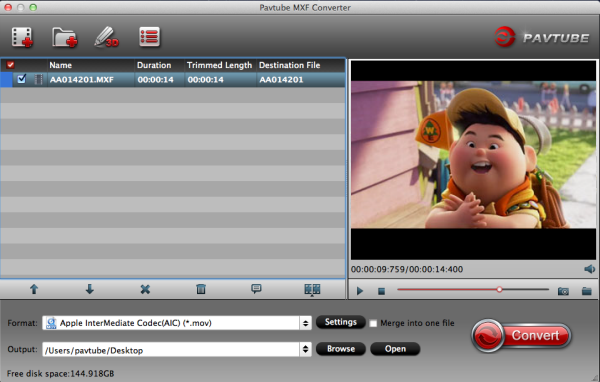
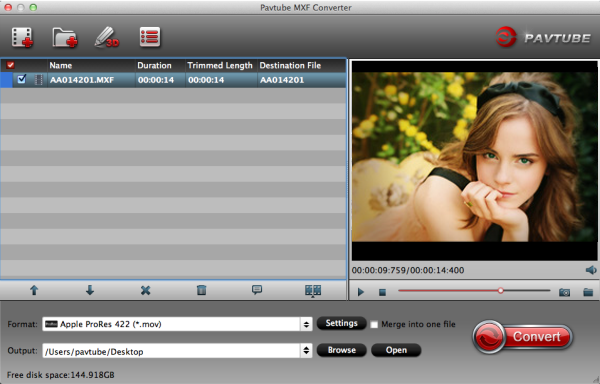
Step 1. Connect your Sony PMW-200 to mac and keep it on, or use a card reader to transfer your footage to mac. Get this MXF Converter for Mac installed, click top left two icons to load individual videos or the entire folder correspondingly.
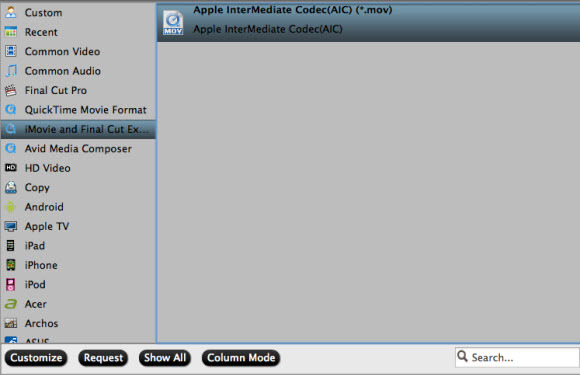
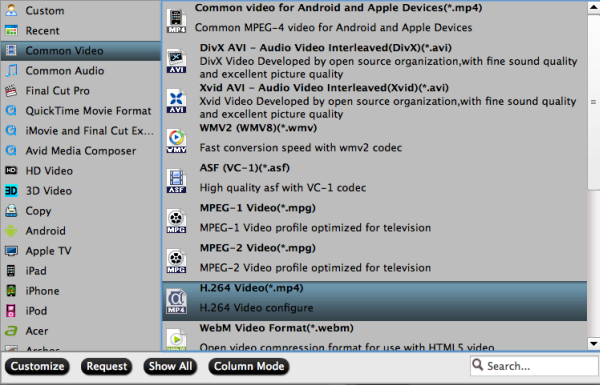
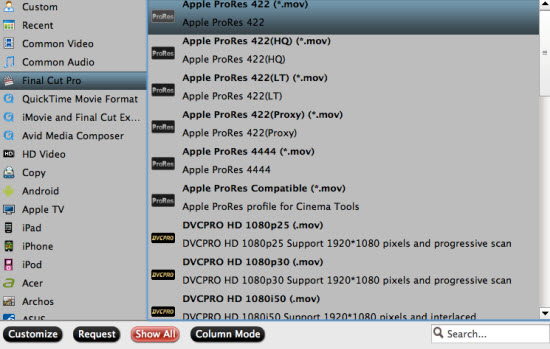
Step 2. Choose best format for editing in Final Cut Pro.
Click the drop-down list besides Format, choose Final Cut Pro > Apple ProRes 422 (*.mov) as the most compatible format as well as best video quality for FCP.
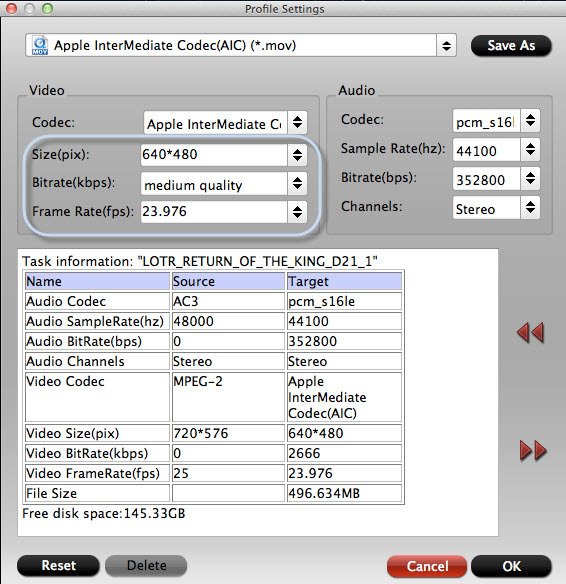
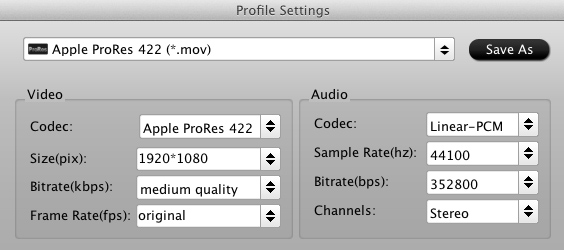
Step 3. Adjust output video settings including video size, codec, bitrate, frame rate by clicking Settings, all according to your needs.
Step 4. Click the big red circle to start conversion. Wait for a while, you can get the fresh hot converted video which is compatible with Final Cut Pro.
Tips:
Pavtube MXF Converter for Mac support outputting the original one audio track separately; if you want to retain and combine all the audio tracks, the Pavtube iMixMXF is highly recommended.
Pavtube iMixMXF integrates all features of Pavtube MXF Converter for Mac and multi-track preserving and mixing features. Other than the unique multi-track preserving feature, you can also Mix the multi tracks into one track for broadcasting. And this makes the iMixMXF as a wonderful MXF Audio Mixer. And this feature enables you to mix the audios of interviewer, interviewee, surroundings, or editors'/directors' comments into one.
Read Related Articles: