"Jingle bells, jingle bells, jingle all the way, oh what fun it is to ride in a one-horse open sleigh." Along with the cheerful songs, the annual traditional Christmas Day is coming. Christmas Day, the 25th of December, is the biggest festival celebrated in the Christian countries of the world. Christmas is also a family celebration. As any members of the family as possible gather to eat, play party games and watch the special Christmas programmes on TV. At Christmas, Santa Claus is indispensable which will bring presents for everyone.

Now it is good news for you that Pavtube Studio will play the role of Santa Claus to bring gifts for you. Now we are offering up to 50% off on our top-selling BD/DVD/Package tools at Pavtube Year-End Deals & Christmas Sales. Many featured Blu-ray/DVD/Video Converters (both Windows and Mac versions are available) for you to celebrate the coming Christmas Day from December 14, 2016 to February 6, 2017.
Index of Pavtube 2016 Year-End Deals & Christmas Sales Notices
BD/DVD/Video Package Tools | 50% off Video Tools | Bundle Software Big Deal
Pavtube Promote BD/DVD/Video Package Tools in Year-End & Christmas Sales
| Video Converter Ultimate for Win/Mac | DVD Video Converter Ultimate | BDMagic for Windows /Mac | DVDAid for Windows /Mac | |
| Discount |  |
 |
 |
 |
| HomePage | ||||
| How To | ||||
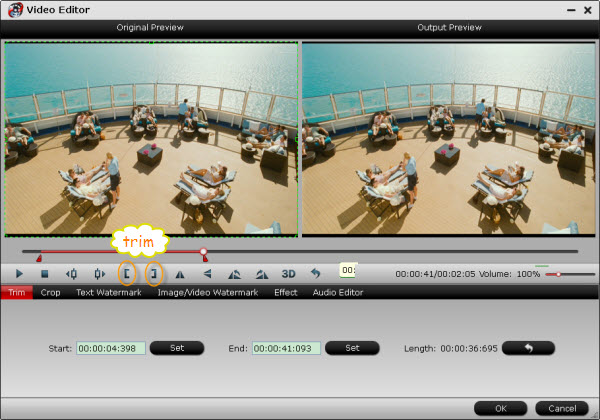
| Key Features | Transcode video/audio files Rip BD/DVD to digital formats Offer multiple devices presets Create 3D SBS MKV/MP4 Video Trim/Crop/Merge/Split video Remove audio and add subtitles |
Rip and convert commercial DVD Generate programs preset profile Convert video to another format Compress 4K to 1080p video Adjust A/V parameters & edit video Rip DVD with preferred subtitle
|
Rip BD AACS, BD+ up to MKB62 Hack DVD to region free Rip BD/DVD with forced subtitles Full Disc and main title copy BD/DVD Rip BD/DVD with DTS/Dolby Digital Edit BD/DVD video with built-in tools |
Backup protected commercial DVDs Full disc and main movie copy DVD Convert DVD to different formats Output DVD to multiple devices preset Select DVD Subtitles/audio tracks Convert DVD wto 3D SBS MKV/MP4 |
| Purchase |
|
Pavtube 50% off Video Tools in Year-End Deals & Christmas Sales
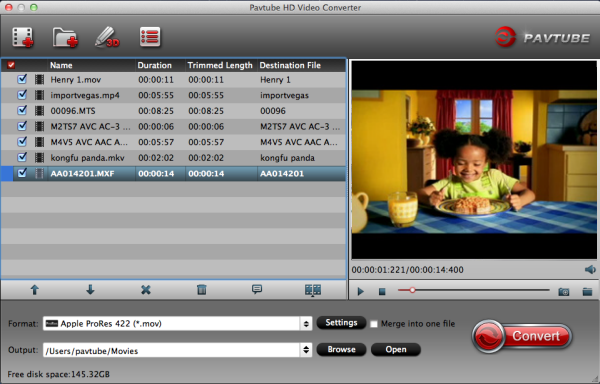
Pavtube MXF MultiMixer
- Preserve MXF multi tracks and channels - Export MXF to MKV/MOV/MP4 with multi tracks - Transcode MXF for Non-linear Editing Software - Trim/Crop/Merge/Watermark/Deinterlace MXF video Original Price: $45 Now: $22.5 |
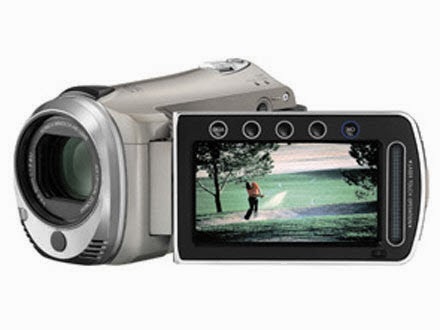
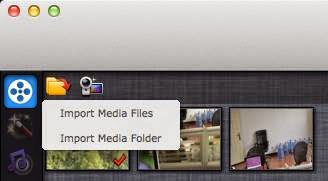
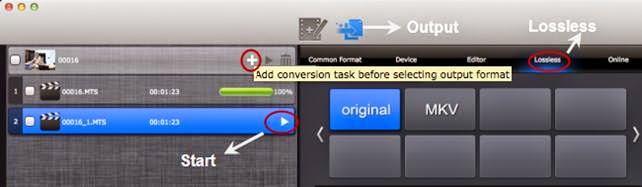
Pavtube Media Magician for Windows /Mac
- Import/Backup/Manage camcorder video - Lossless output AVCHD MTS to MTS or MKV - Frame by frame edit Video on timeline - Output Different formats from same source - Directly Upload Video to YouTube Original Price: $45 Now: $22.5 |
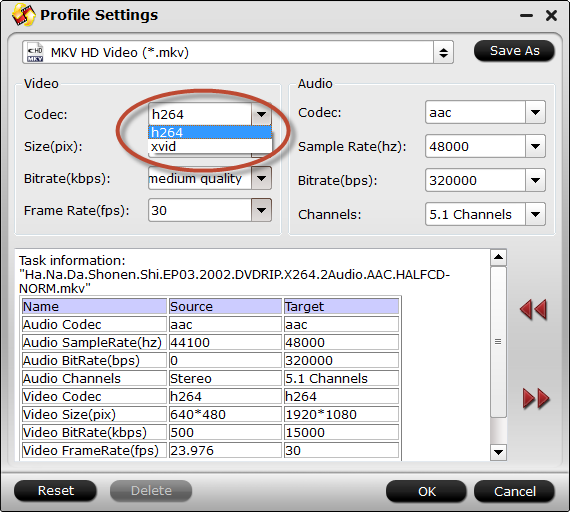
Pavtube MKV Converter for Windows /Mac
- Convert MKV with desired subtitle and tracks - Bundled streaming server app - Ouput MKV to popular video and audio formats - Split/Merge/Crop/Watermark MKV - 6X faster conversion speed Original Price: $29 Now: $14.5 |
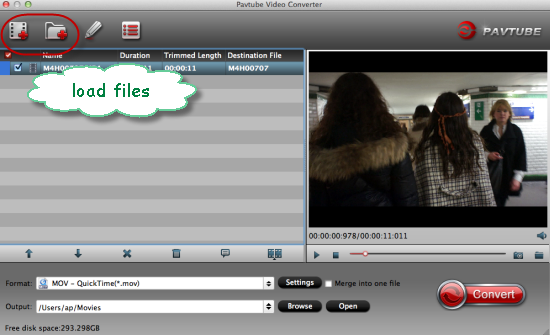
Pavtube FLV/F4V Converter for Windows/Mac
- Convert FLV/F4V for Device playback - Design FLV/F4V video with editing tools - Bundled streaming server app - Perfect video audio sync technology - 6X faster conversion speed Original Price: $29 Now: $14.5 |


Pavtube 2016 Year-End & Christmas Sales Promotion Software Bundles
ByteCopy + Video Converter Ultimate
Original Price: $107 Now: $79.9
|
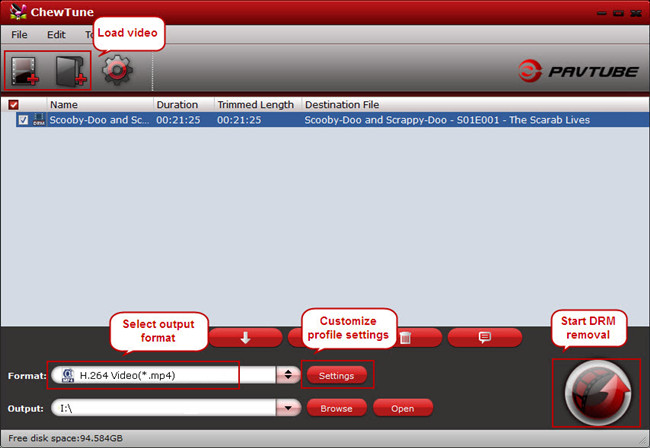
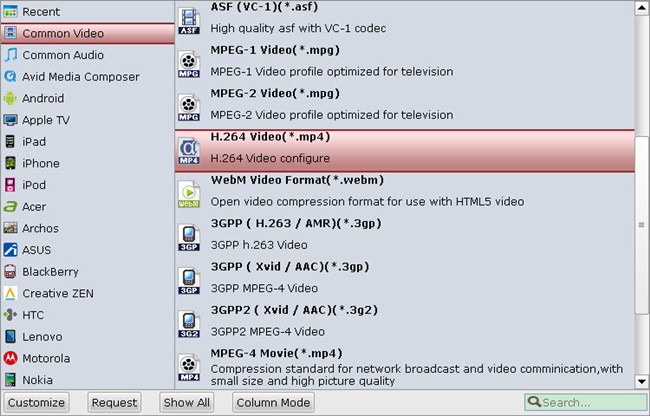
Video Converter Ultimate + ChewTune
Original Price: $94 Now: $74.9
|
|
Original Price: $71 Now: $54.9
|
Video Converter Ultimate + DVD Creator
Original Price: $100 Now: $64.9
|
|
Original Price: $84 Now: $49.9
|
Original Price: $77 Now: $44.9
|